%2520(1).png%3Falt%3Dmedia%26token%3D6fb48f09-a8eb-423f-8296-83ba614ae5a4)
%2520(1).png%3Falt%3Dmedia%26token%3D6fb48f09-a8eb-423f-8296-83ba614ae5a4)
Testimonials
How to Display Customer Testimonials on Your Homepage
You can watch the video version of this article here:
With aasaan, You can display customer testimonials on your website with the testimonials widget. Here's how you do it:
STEP 1:
Login to your aasaan desktop admin panel and click on Website Settings.
8368.png?alt=media&token=101aec30-6ef6-493a-a1ca-392f950d94a6)
STEP 2:
Choose a content template to add your widget in.
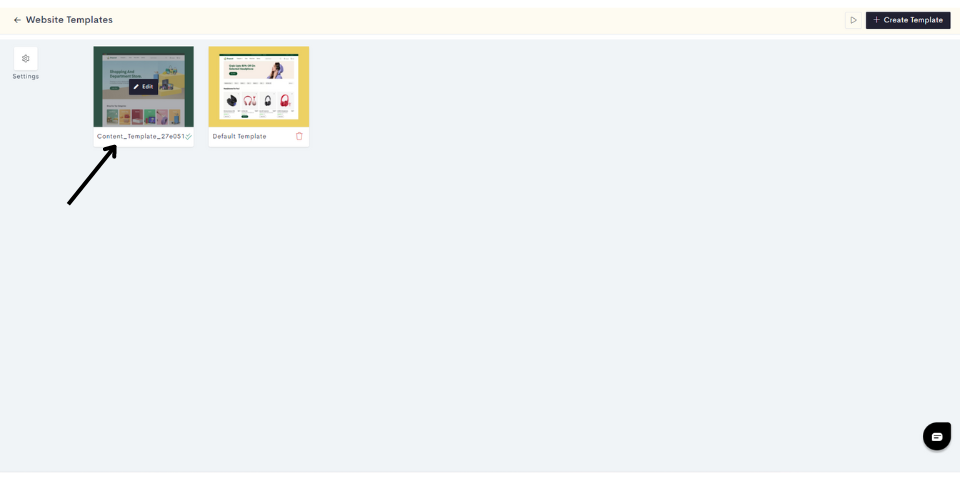
Note: If you wish to add it in a new template, click on Create a Template.
STEP 4:
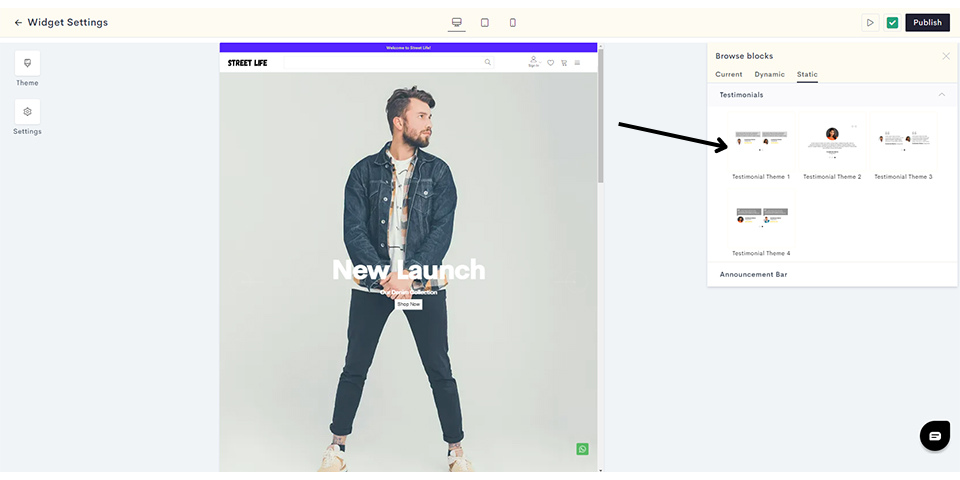
Click on the "Plus Sign" to add your testimonial widget.

STEP 5:
Click on Static.

STEP 6:
Click on Testimonials and choose your theme. Here we will choose theme 1.
STEP 7:
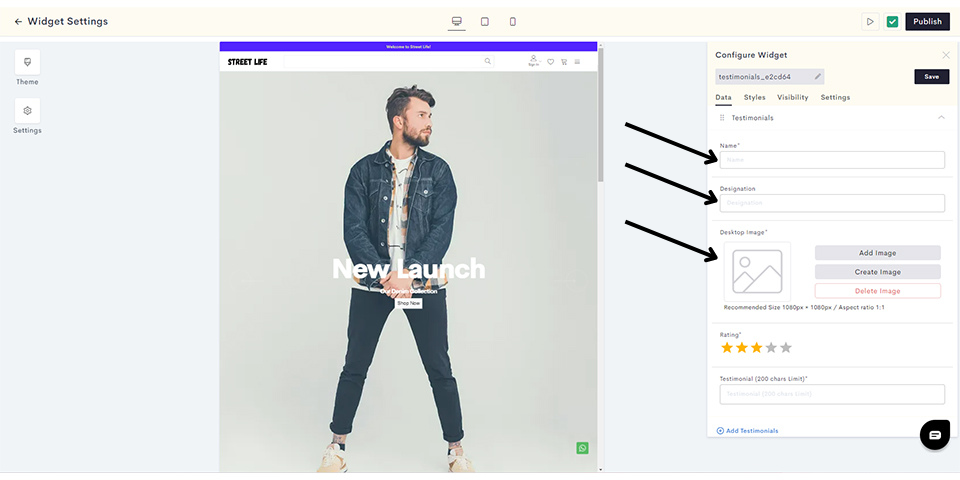
Enter the name and designation and upload the image of the person giving the testimonial.
STEP 8:
Enter the rating and the testimonial.
5f9a.png?alt=media&token=4b94a686-5c7e-4726-b5f7-d9215b3abca9)
Note: If you wish to, you can click on Add new Testimonials to add more customer testimonials.
STEP 9:
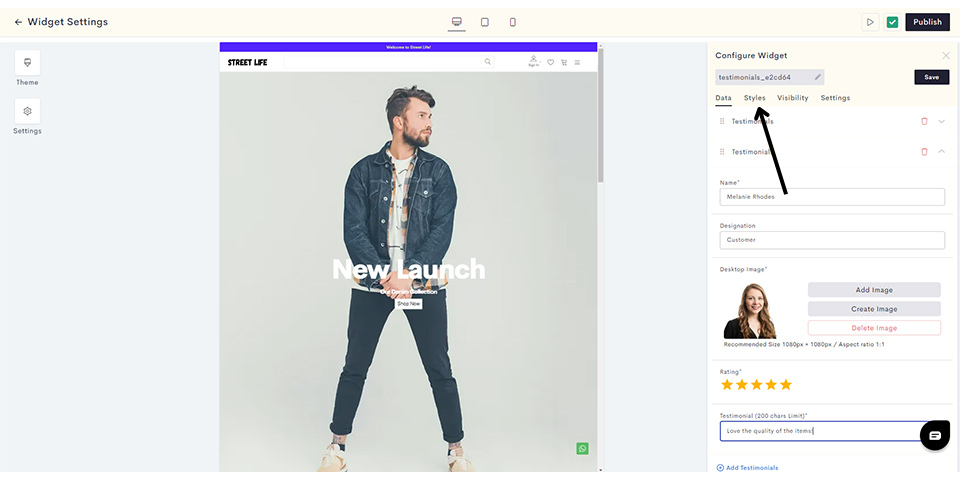
Repeat steps 7 and 8 to add all your testimonials.
STEP 10:
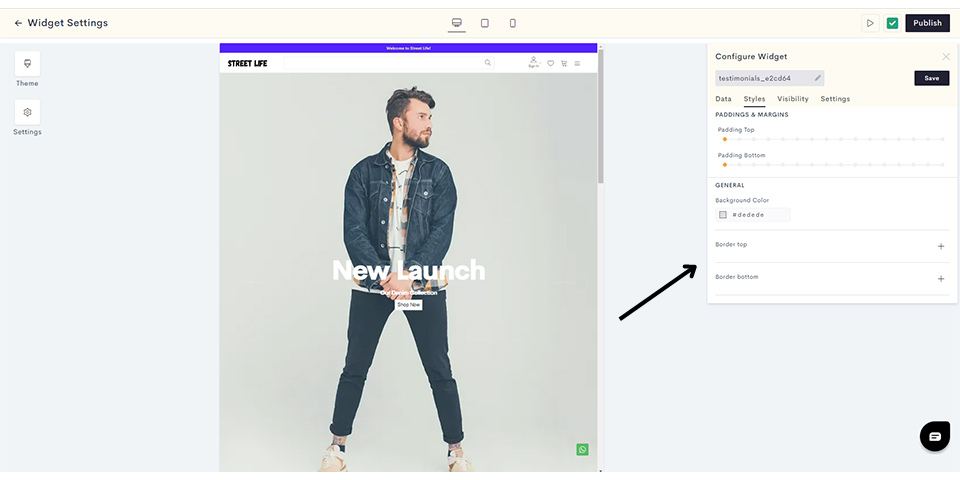
After adding all your testimonials, click on Styles to style your testimonials widget.
STEP 11:
You can style your testimonials widget by adjusting the padding, setting the background color and configuring the borders.
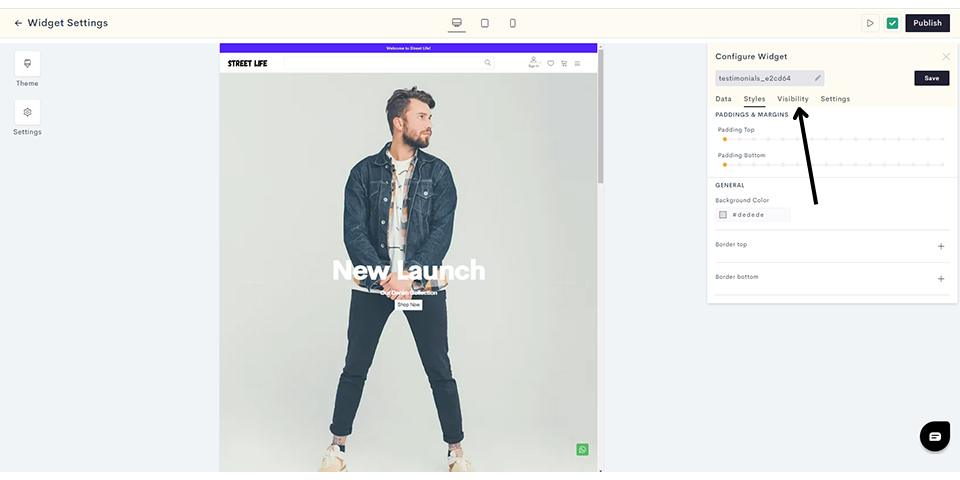
Once you have finished styling your testimonials, it's time to configure the visibility settings. Click on Visibility.
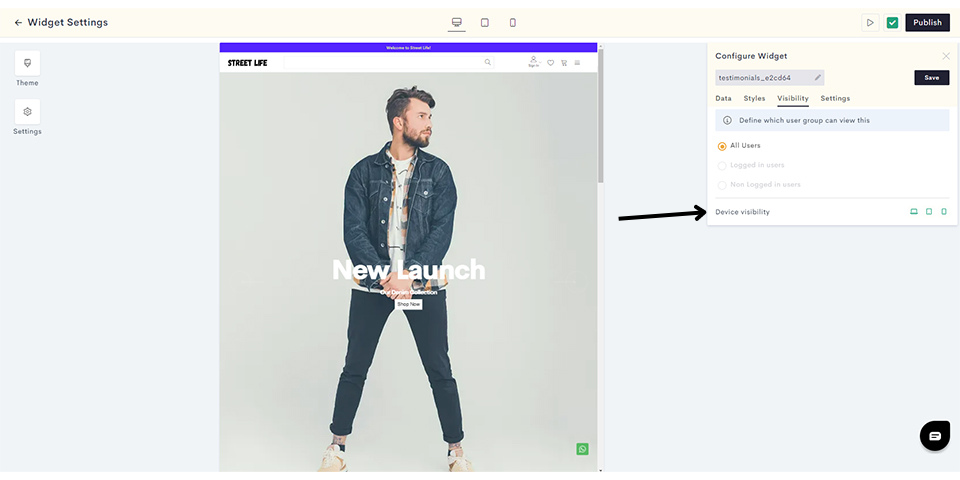
STEP 12:
Choose which devices you would like to display your testimonials on. Click on the respective icon to display/hide your testimonials for desktops, tablets and smartphones.
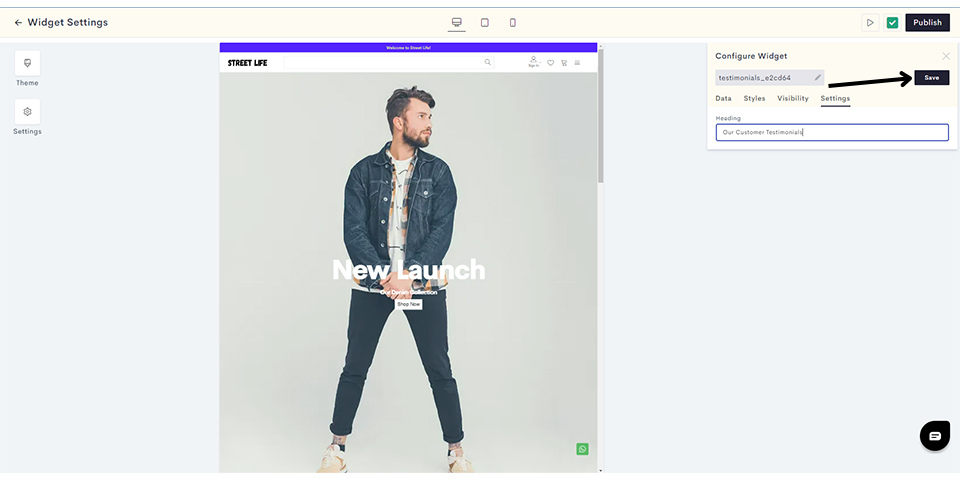
After configuring your visibility settings, you need to add a title for your widget. To do that, click on Settings.
8e67.png?alt=media&token=d0511208-b09e-4bd2-b15e-f35066bdf682)
STEP 13:
Enter the widget title and click on Save.
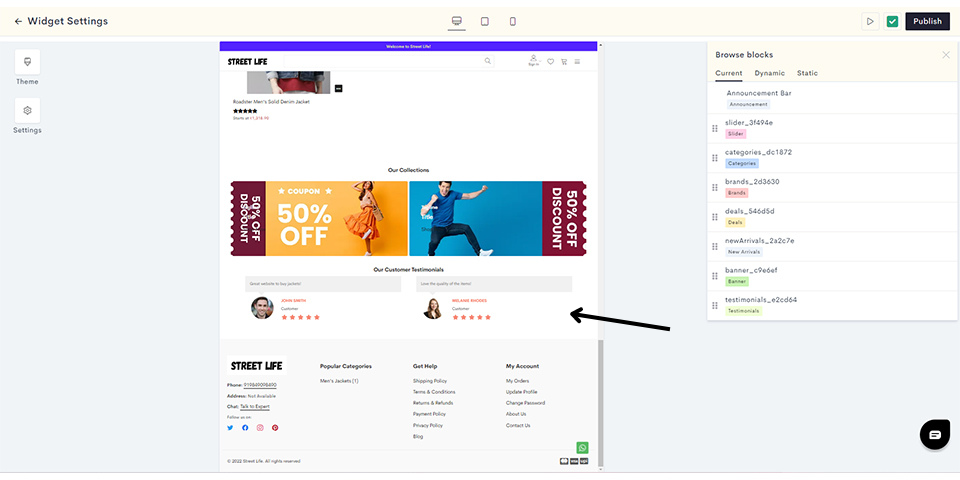
Your testimonials widget has been saved successfully. You can preview it in the admin panel as shown.
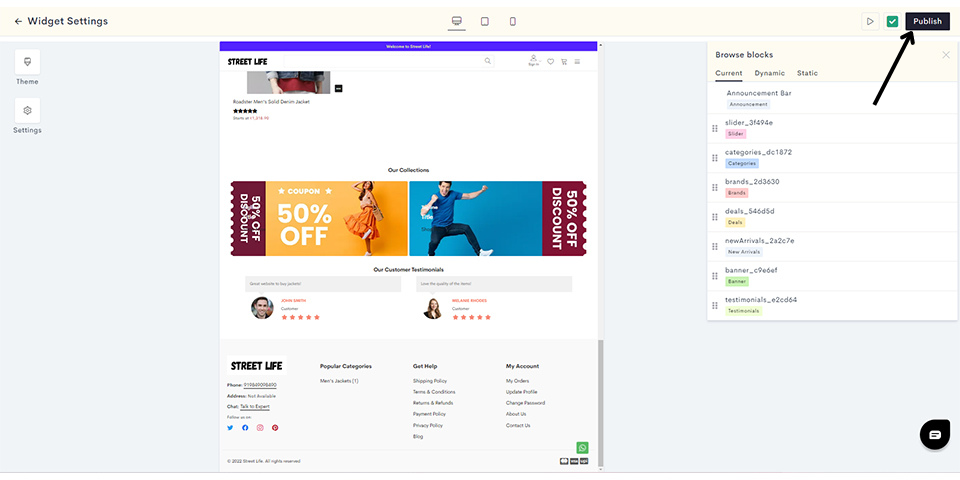
STEP 11:
Click on Publish to push your testimonials to the website homepage.
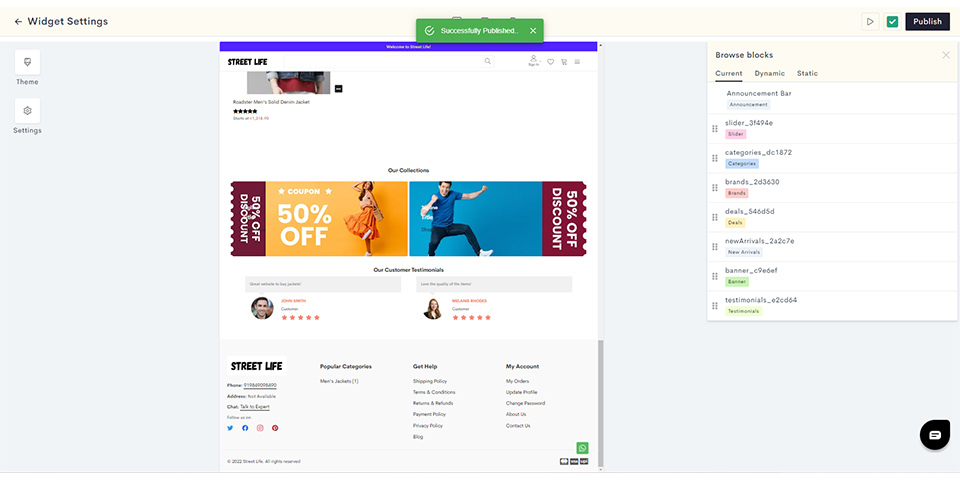
You have successfully added your testimonials to your website.
Last modified 6mo ago