%2520(1).png%3Falt%3Dmedia%26token%3D6fb48f09-a8eb-423f-8296-83ba614ae5a4)
%2520(1).png%3Falt%3Dmedia%26token%3D6fb48f09-a8eb-423f-8296-83ba614ae5a4)
Banners
Display Banners on your Website Homepage
You can watch the video version of this article here:
We have a wide range of banners you can use to customize your website homepage. They are as follows:
- Basic Banner
- Single column Banner
- Two-column banner
- Three column banner with slider(with the slider being either on the right or the left)
Since the process of creating these different kinds of banners is similar, we will just be discussing the process of creating the two column banner. A two column banner consists of a left banner and a right banner - hence the name "two column".
STEP 1:
Click on Website Settings.
0731.png?alt=media&token=ff810df3-b8ac-4d9e-bcd4-40de6baf1290)
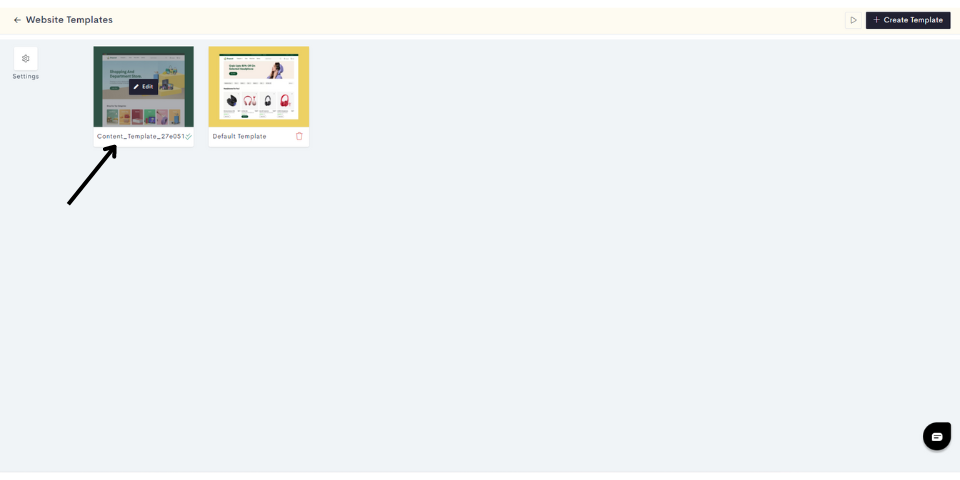
STEP 2:
Click on the content template in which you wish to add your banner. You can also click on Create Template, if you wish to create a new template for your website.
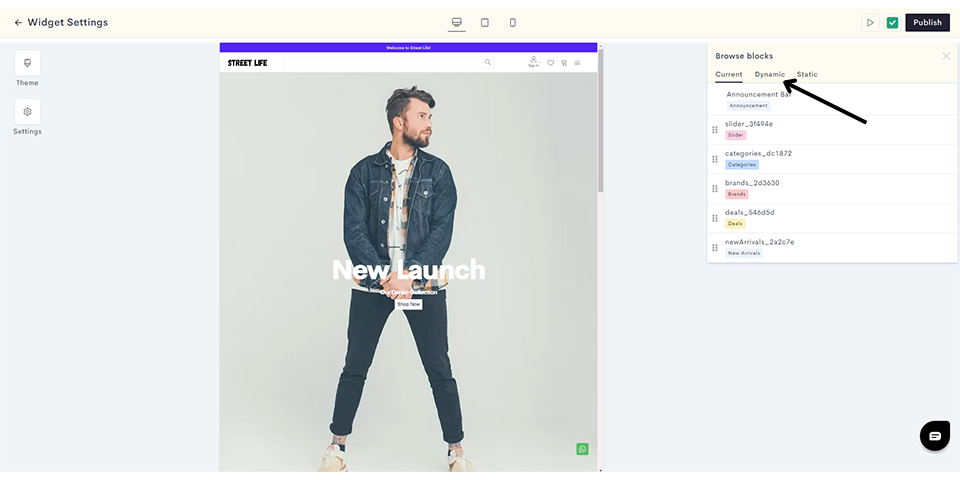
STEP 3:
Click on the "Plus" sign to add a widget.
STEP 4:
Click on Dynamic.
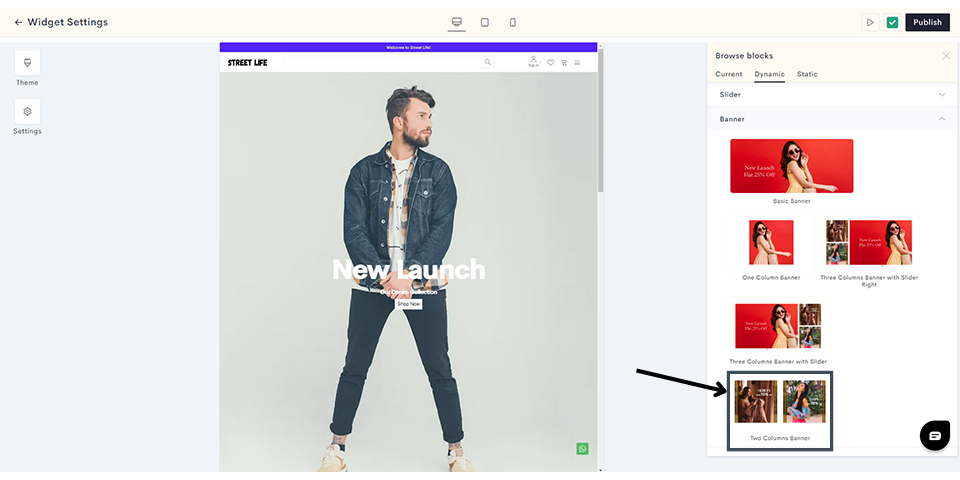
STEP 5:
Click on Two Column Banner.
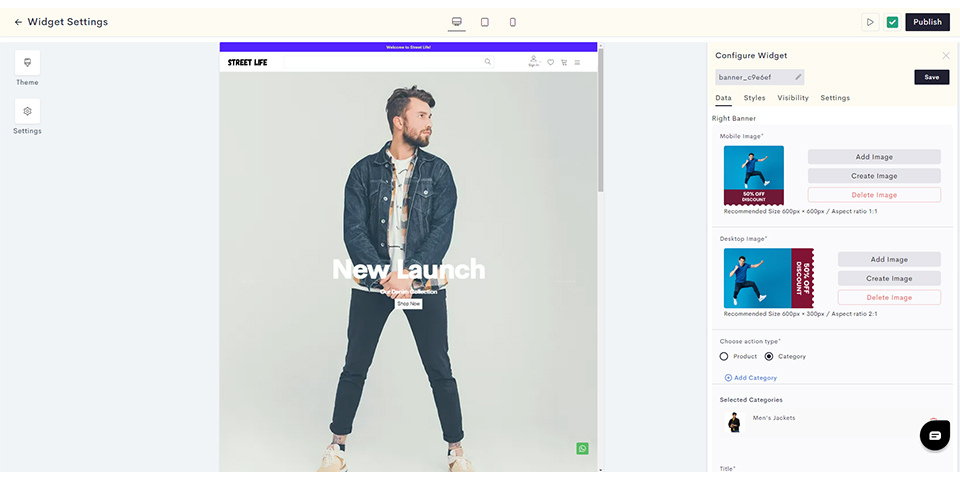
STEP 6:
Now let's add your Left Banner. Click on Add Image to upload the banner image for your mobile and desktop websites.

Note: Maximum image size is 1 mb.
STEP 7:
Once your images are added, click on Add Product to link your product.
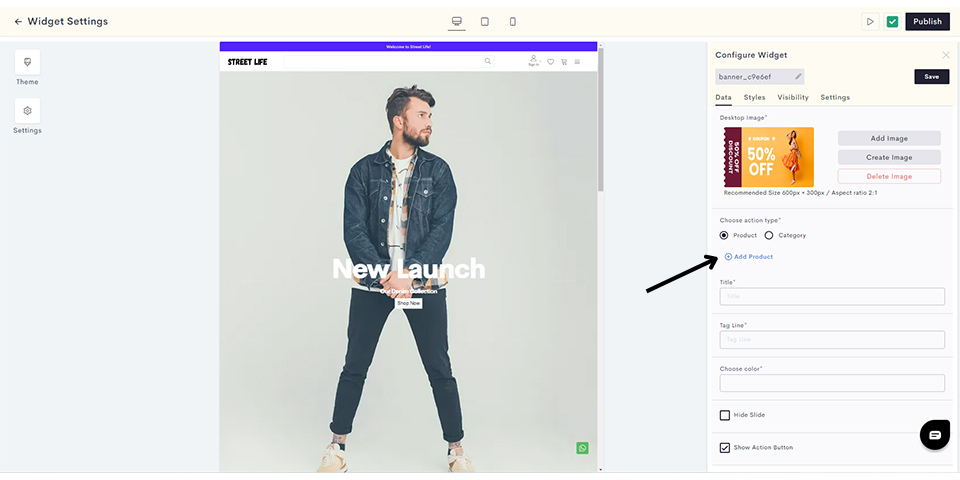
Note: You can also choose the category option and link a category.
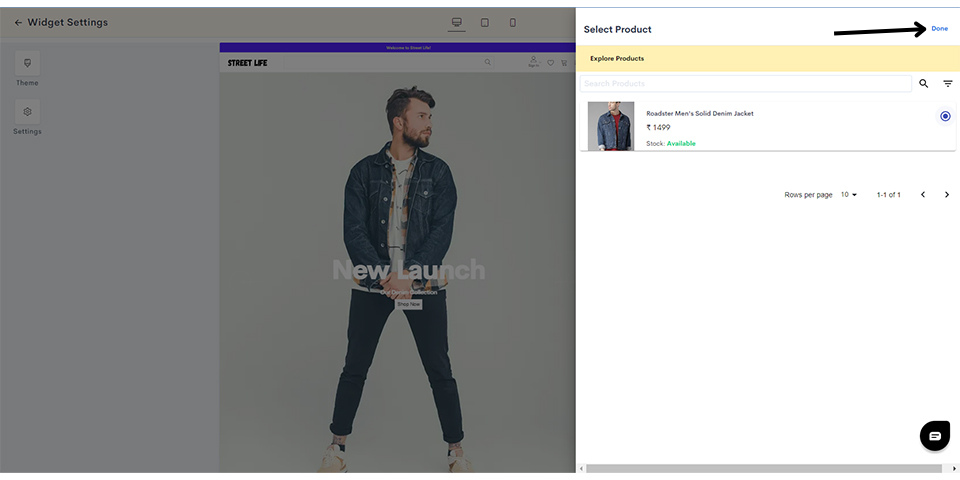
STEP 8:
Choose the product you wish to link and click on Done.
STEP 9:
Enter the title and tagline for your banner, and choose the font color.
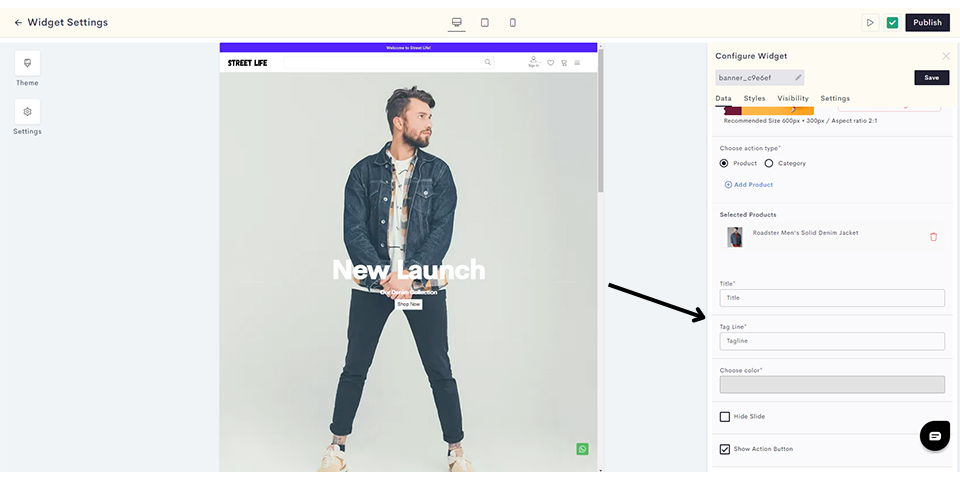
Note: If you wish, you can hide this particular banner by checking the Hide Slide box. You can also enable or disable the Show Action Button checkbox to display/hide the "Shop Now" button on your banner.
STEP 10:
Repeat steps 6 to 9 to create your right banner.
STEP 11:
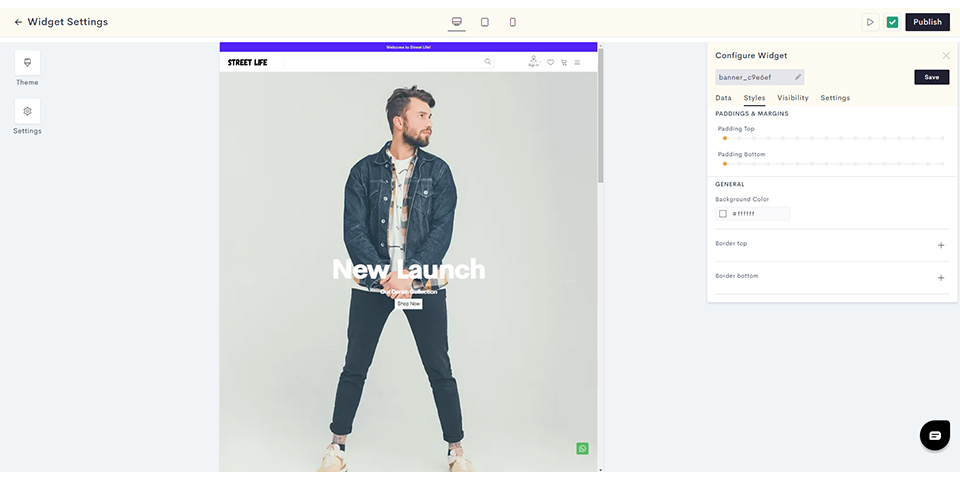
If you wish to add style elements to your banner, click on Styles.
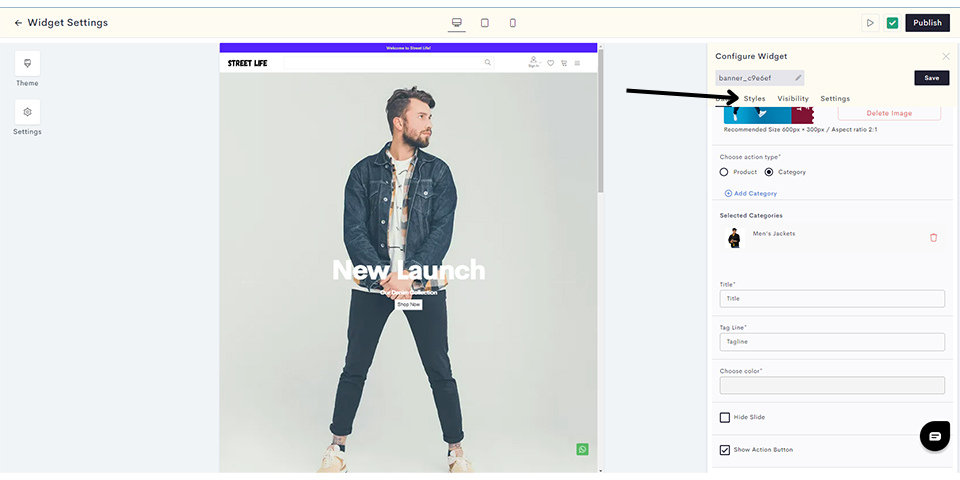
STEP 12:
In this section you can configure various aspects of your banner style such as padding, background color and borders.
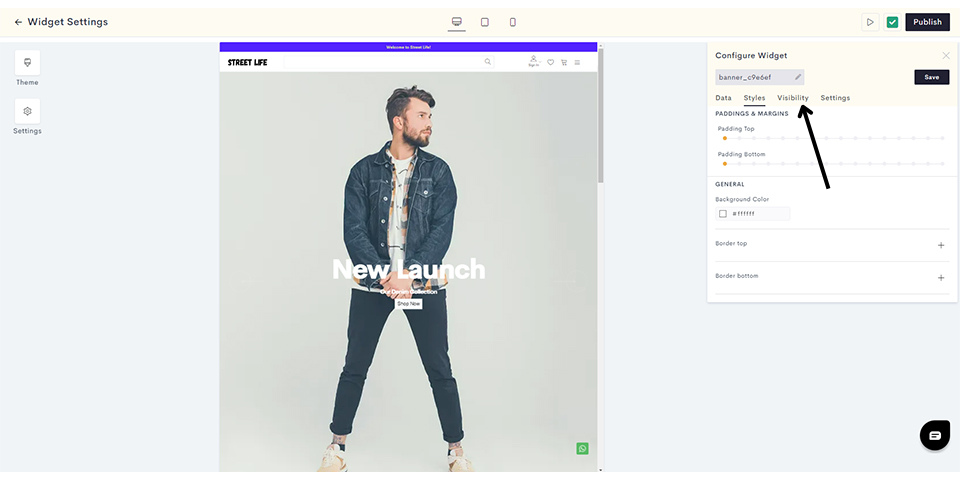
STEP 13:
Once you are done styling your banner, click on Visibility to customize its visibility settings.
STEP 14:
Here you can decide which devices your banner will be visible on. In this scenario, we will enable banner visibility for desktops, tablets and smartphones.
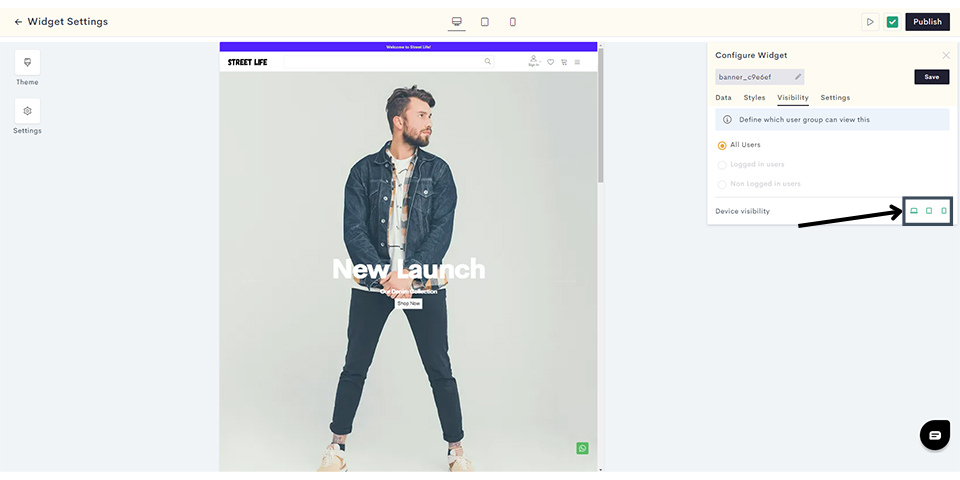
After configuring your visibility, click on Settings.
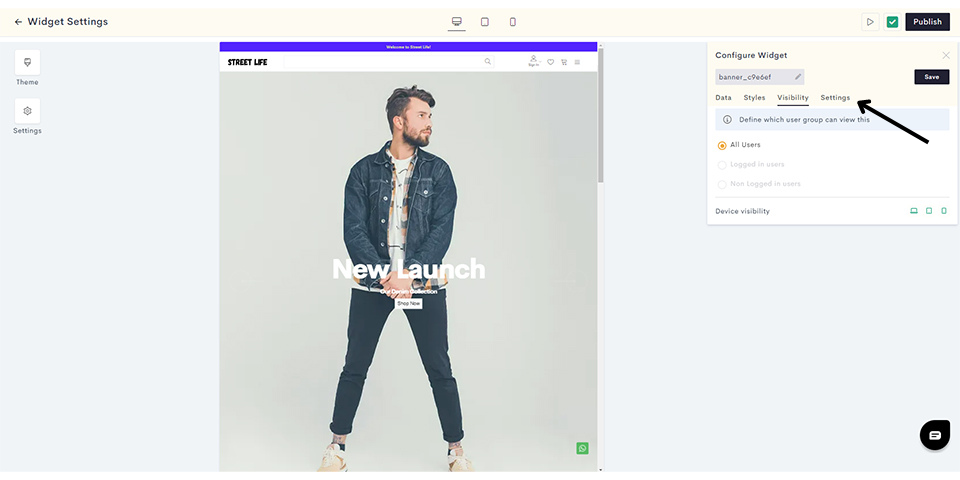
STEP 15:
Add your banner title and click on Save.

Your banner has been saved. You can preview it in your admin panel as shown.

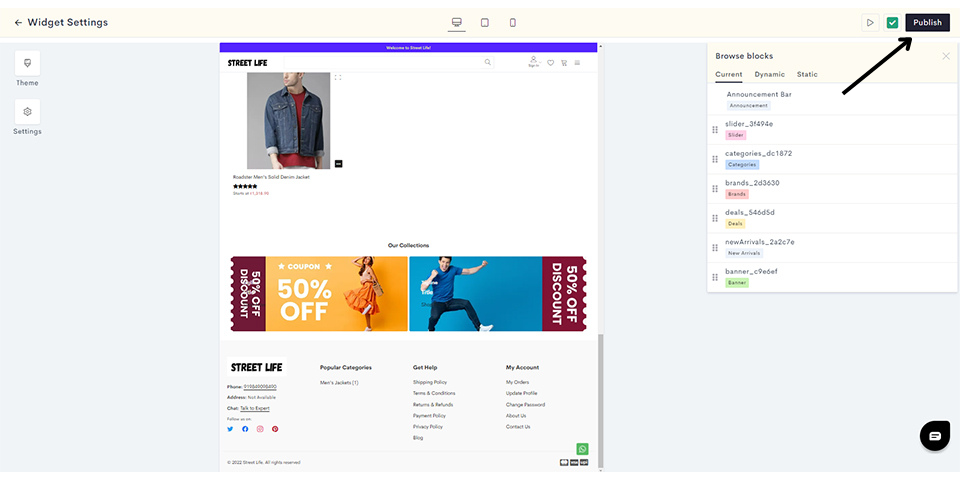
STEP 16:
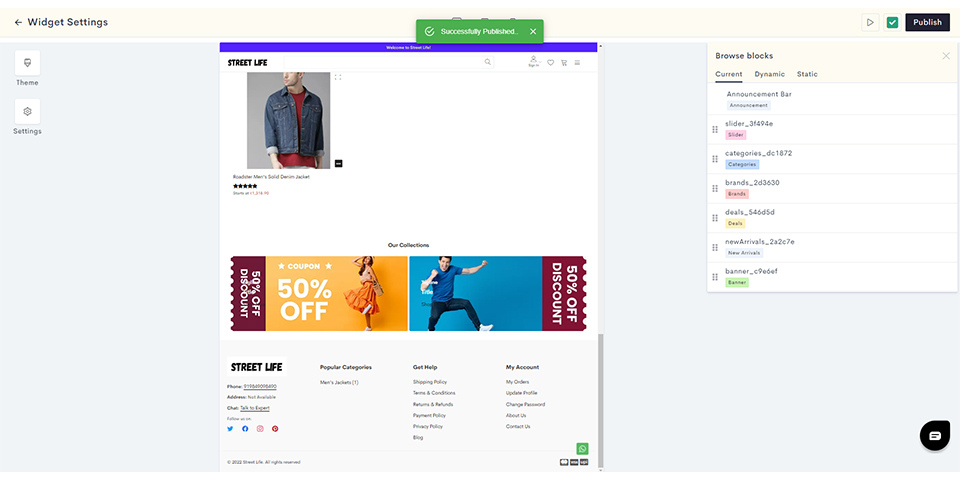
Click on Publish to push your banner to your website.
You have successfully published your banner on your website.
Last modified 7mo ago