%2520(1).png%3Falt%3Dmedia%26token%3D6fb48f09-a8eb-423f-8296-83ba614ae5a4)
%2520(1).png%3Falt%3Dmedia%26token%3D6fb48f09-a8eb-423f-8296-83ba614ae5a4)
Font Settings
Change the font settings
With aasaan take control of your reading experience with our customizable font settings. Adjust the font type, size, according to your preferences, ensuring that every word is displayed just the way you like it to create the perfect reading environment.
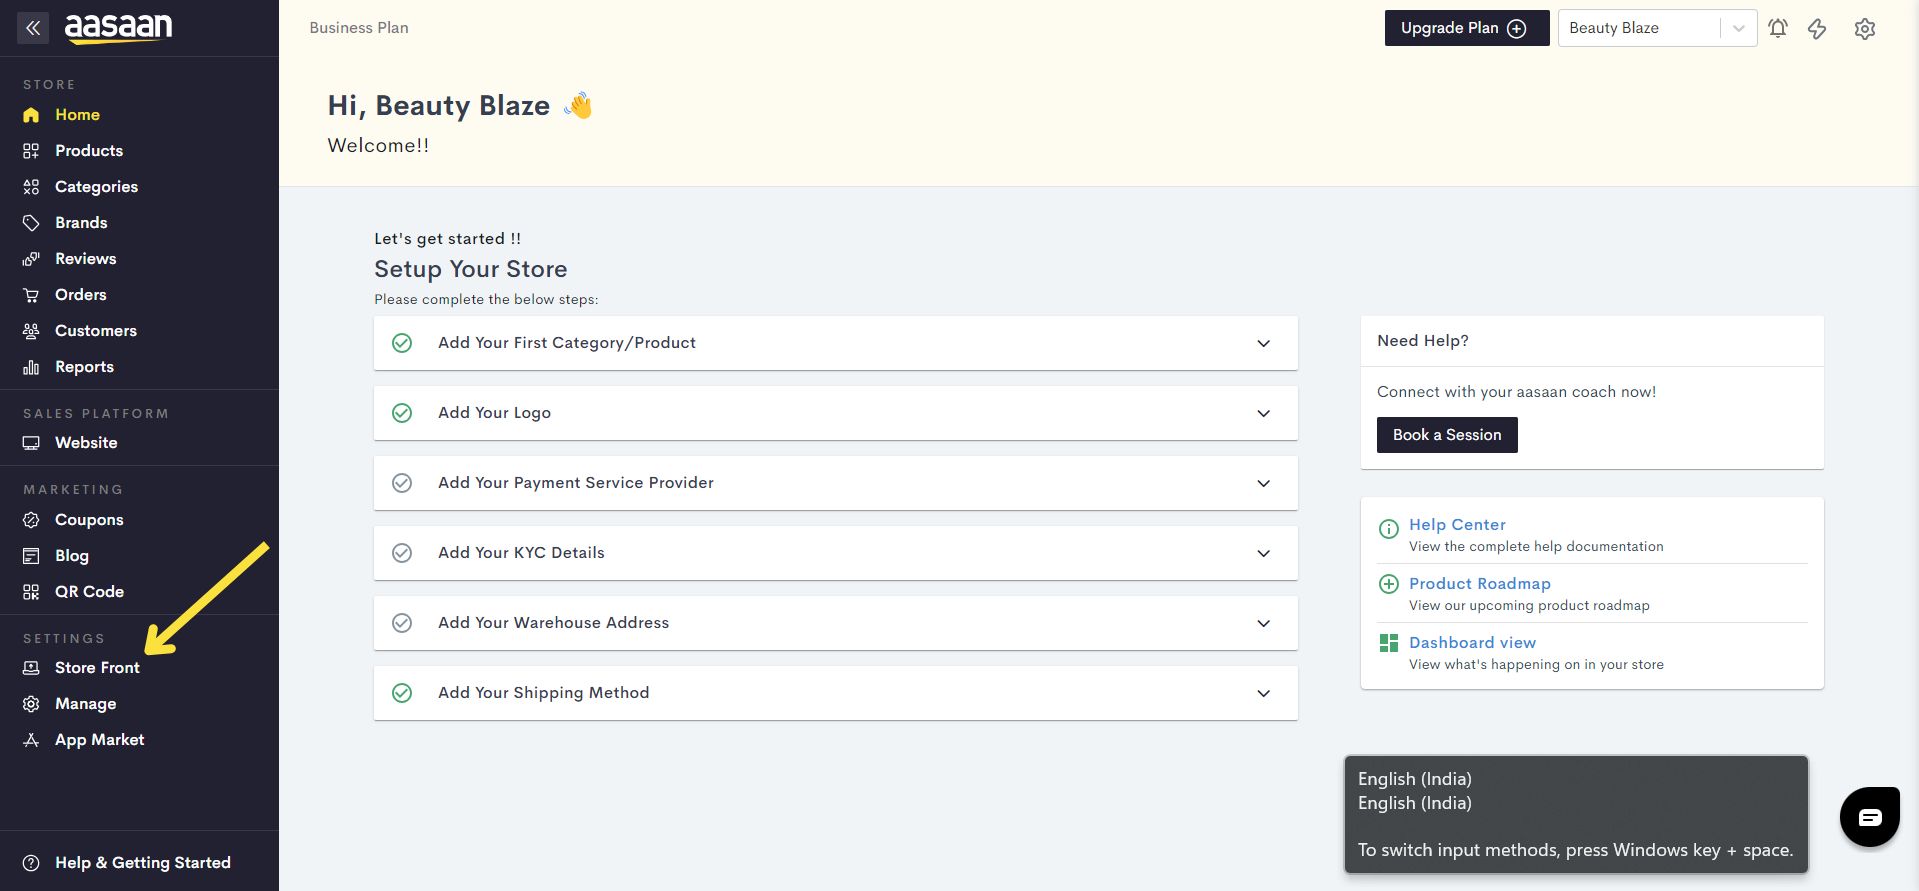
STEP 1:
Log in to your Aasaan desktop admin panel and click on Store Front.
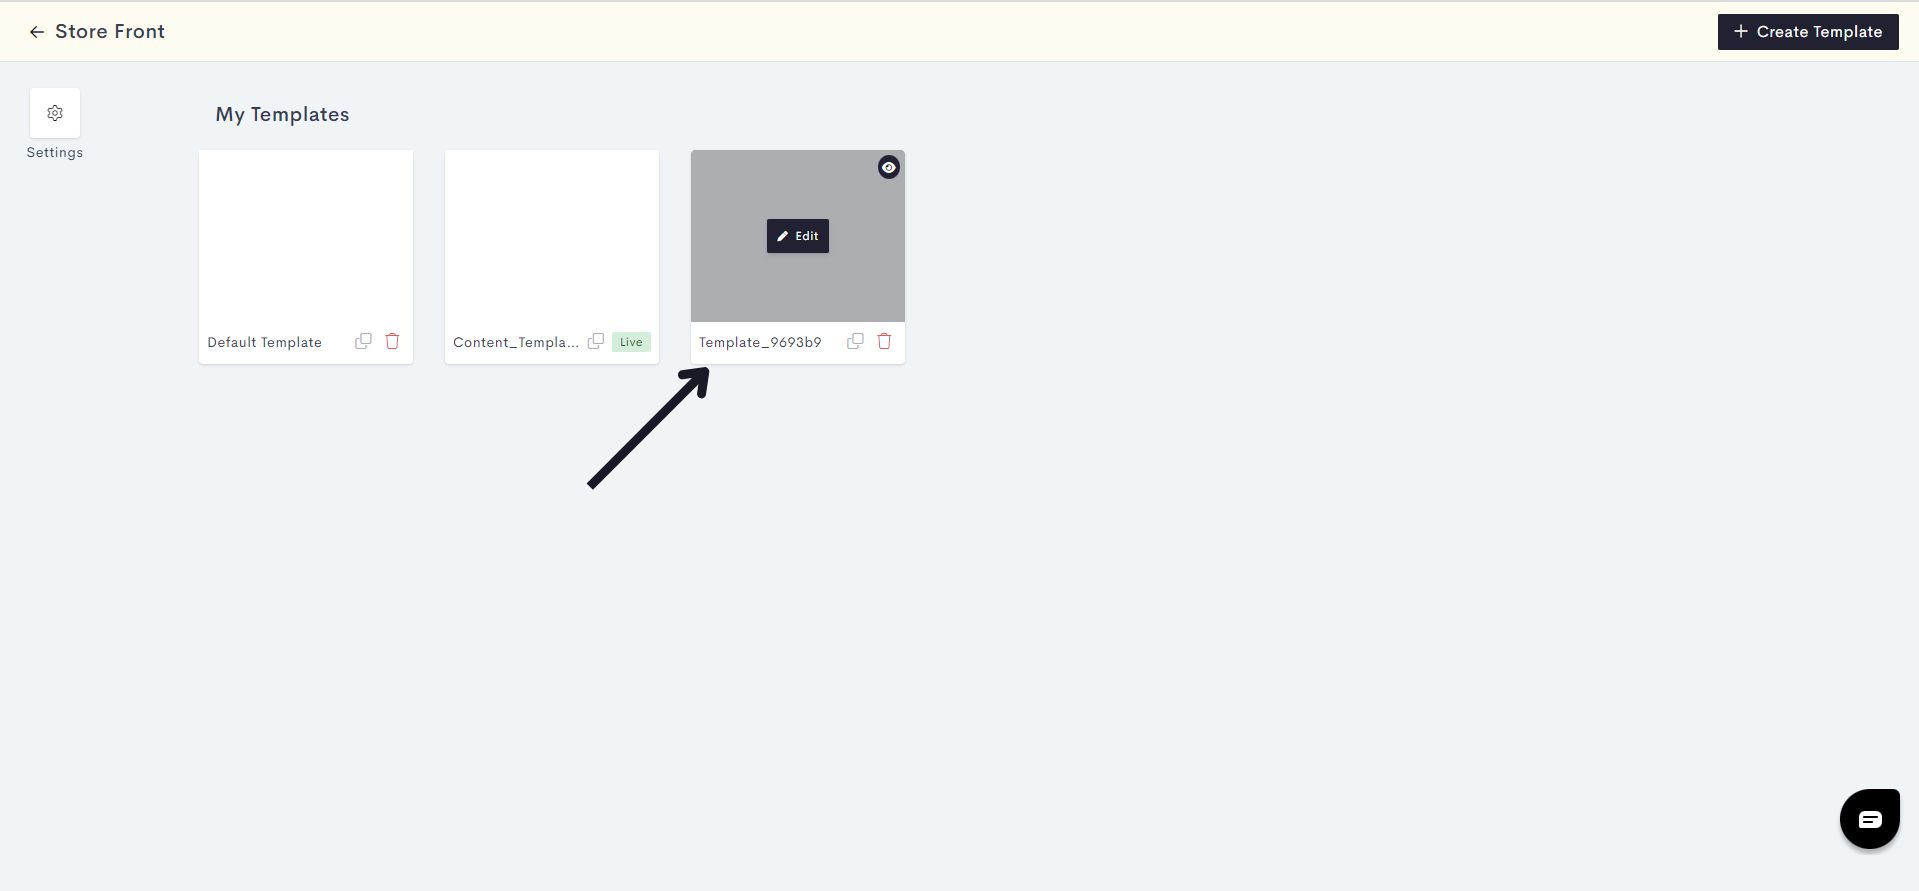
STEP 2:
Click on the content template in which you wish to customize your font settings. You can also click on Create Template, if you wish to create a new template for your website.
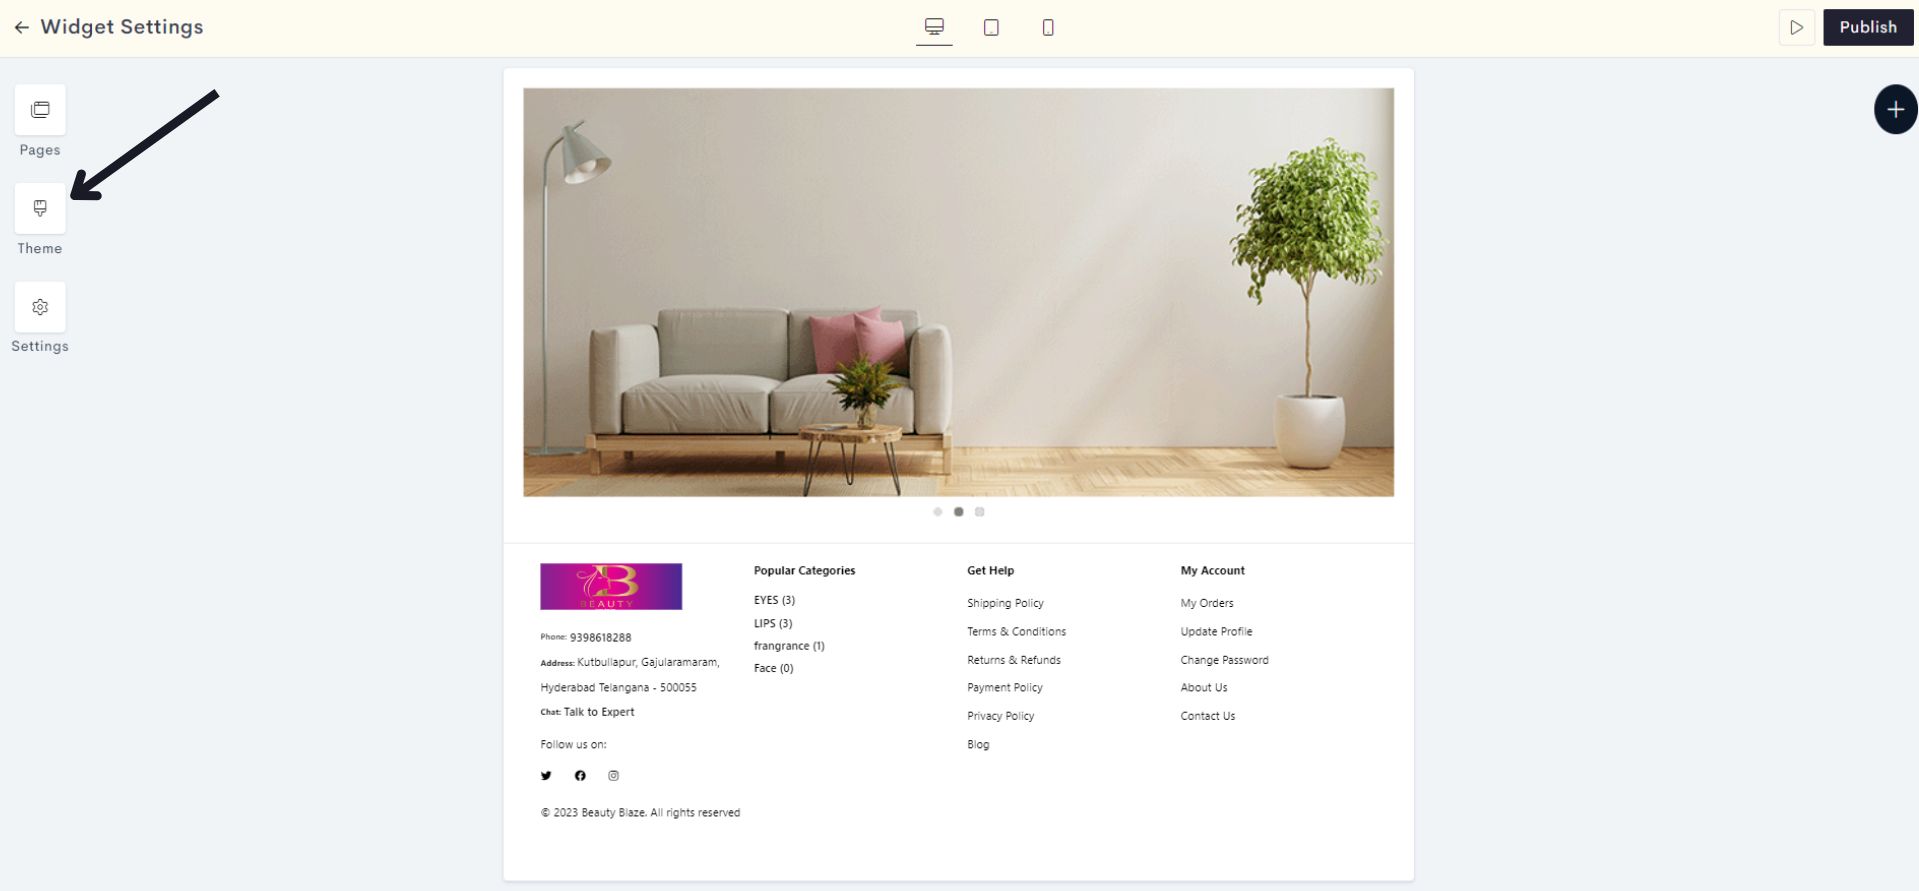
STEP 3:
Click on Themes.
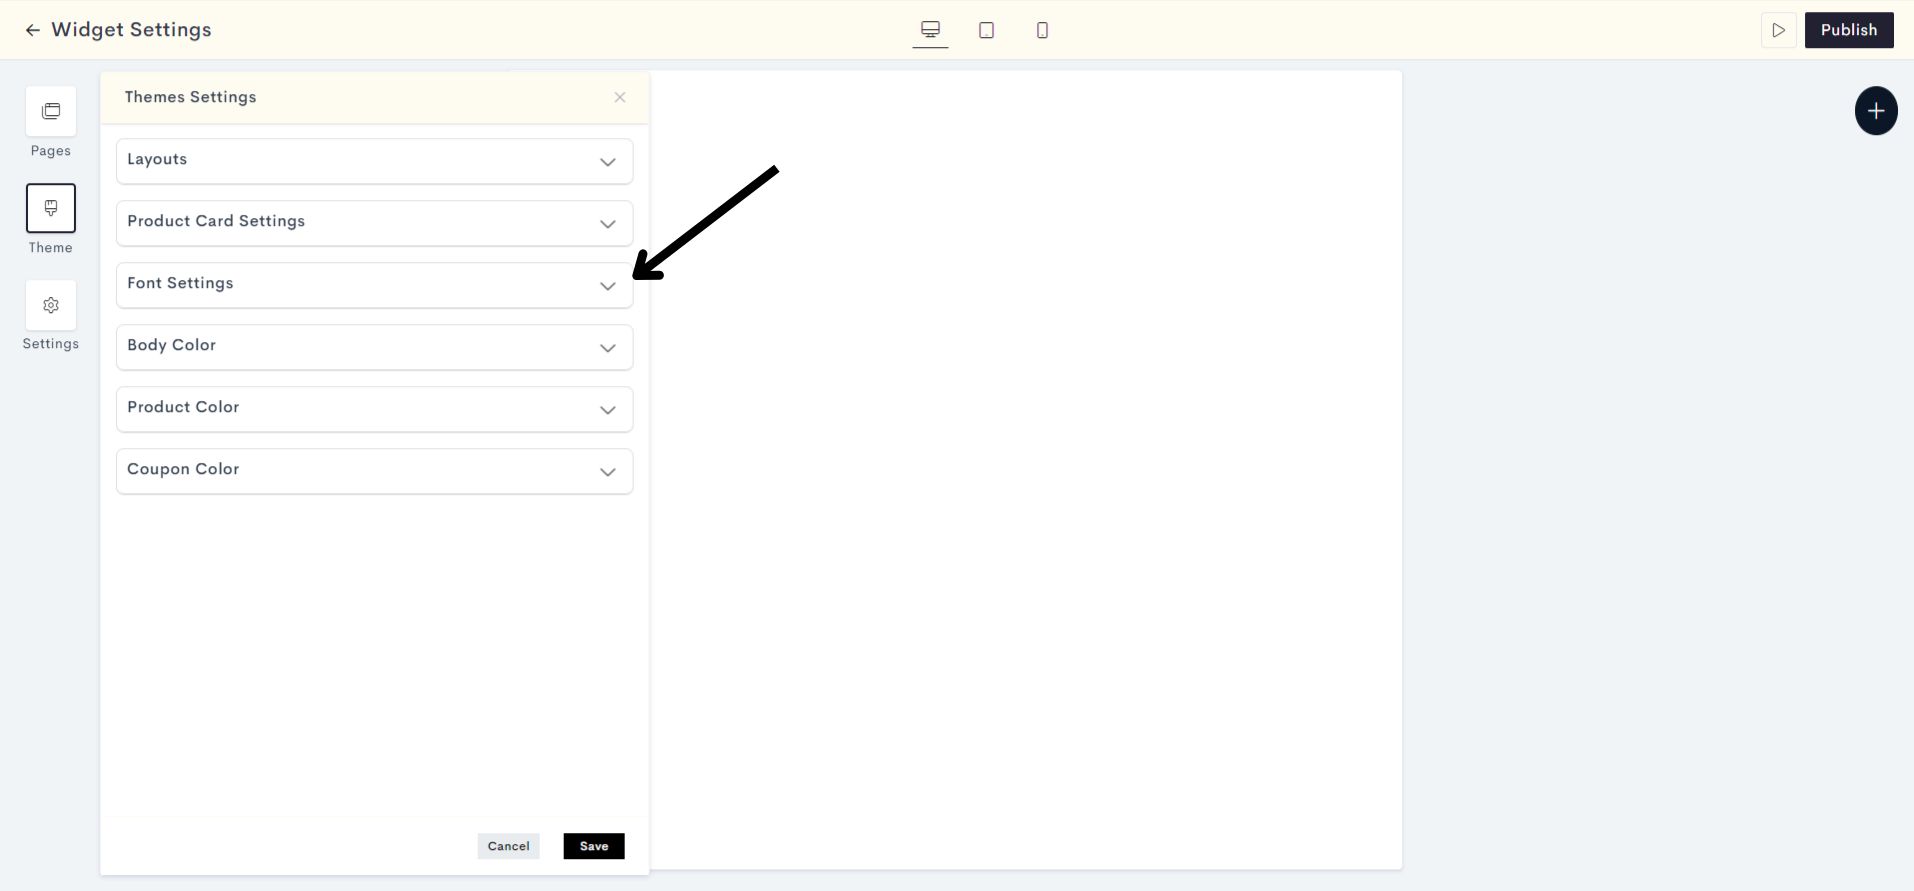
STEP 4:
Click on the dropdown to select Font settings.
Note for STEP 5: Initially, you need to select the font type(source) and style for Font Type 1, Font Type 2, and Font Type 3 from the provided choices. Then you will need to choose the appropriate font type(Type 1, Type 2, or Type 3) for the Body font, Menu font, Heading font, and Product title font.
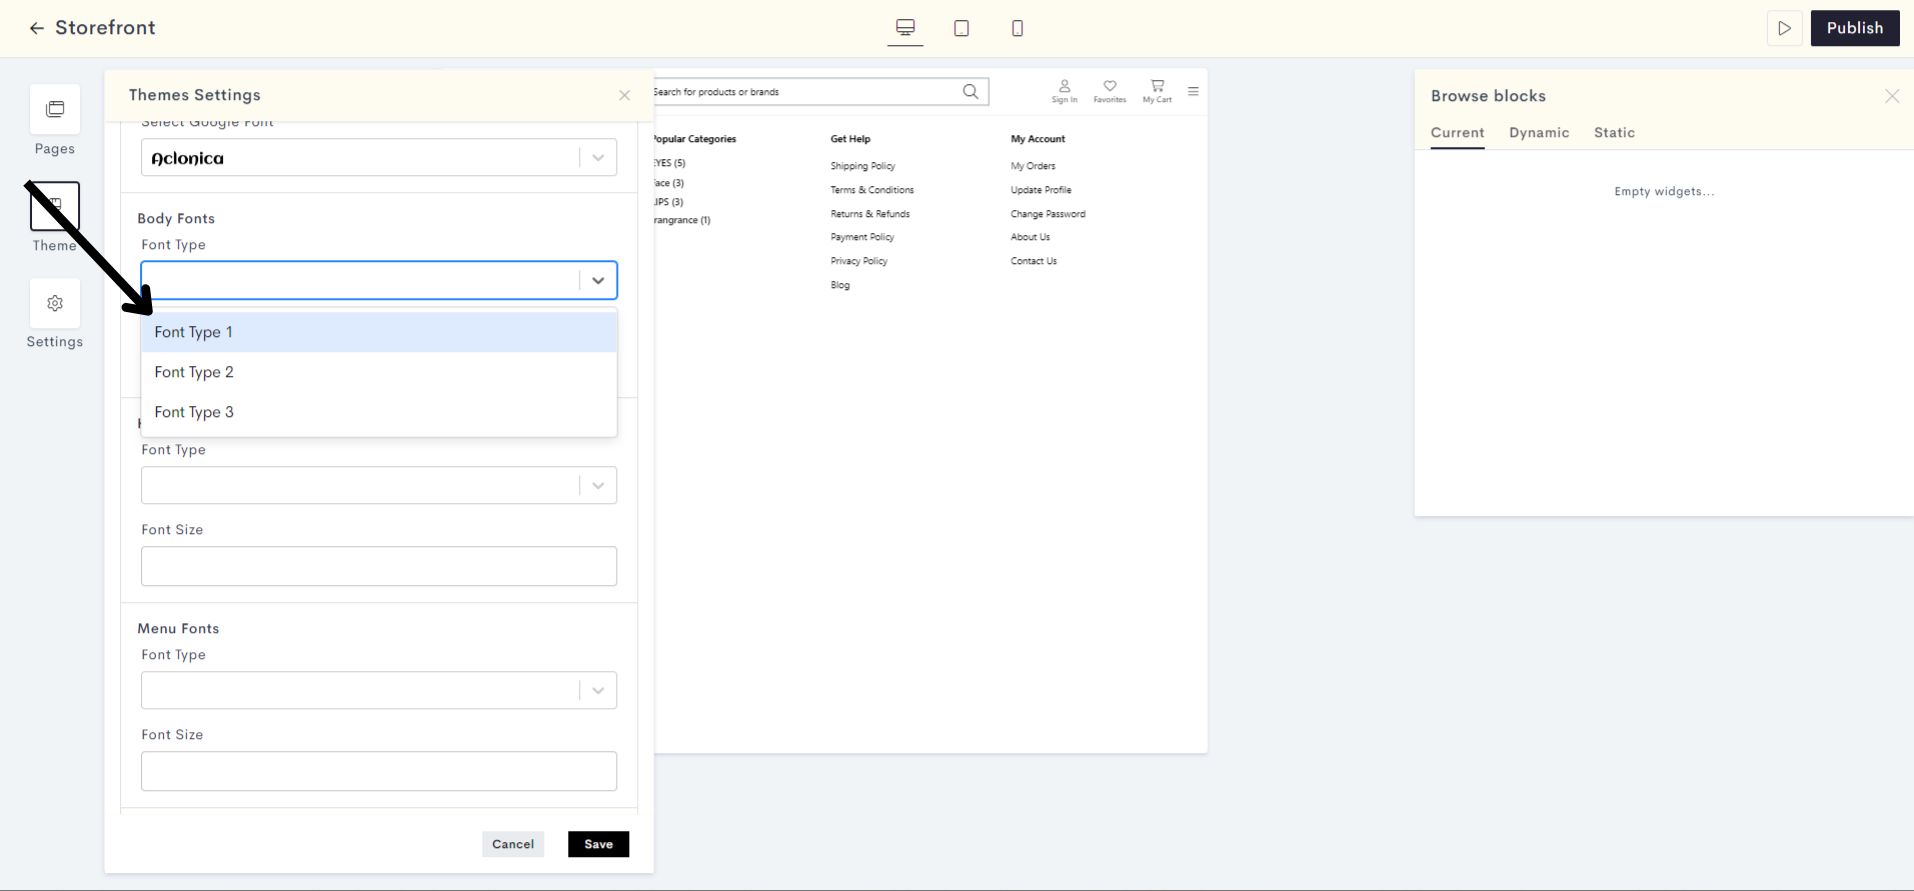
STEP 5:
Choose the font type for Font Type 1 from the list of available options, which includes Google Fonts, System Fonts, and Enterprise Fonts.
Note : Google Fonts: Google Fonts is an online repository of web fonts provided by Google, freely accessible to users.
System fonts: System fonts are the built-in typefaces that come pre-installed on a variety of operating systems.
Enterprise Fonts: Enterprise fonts are custom-made fonts created specifically for one company or organization.

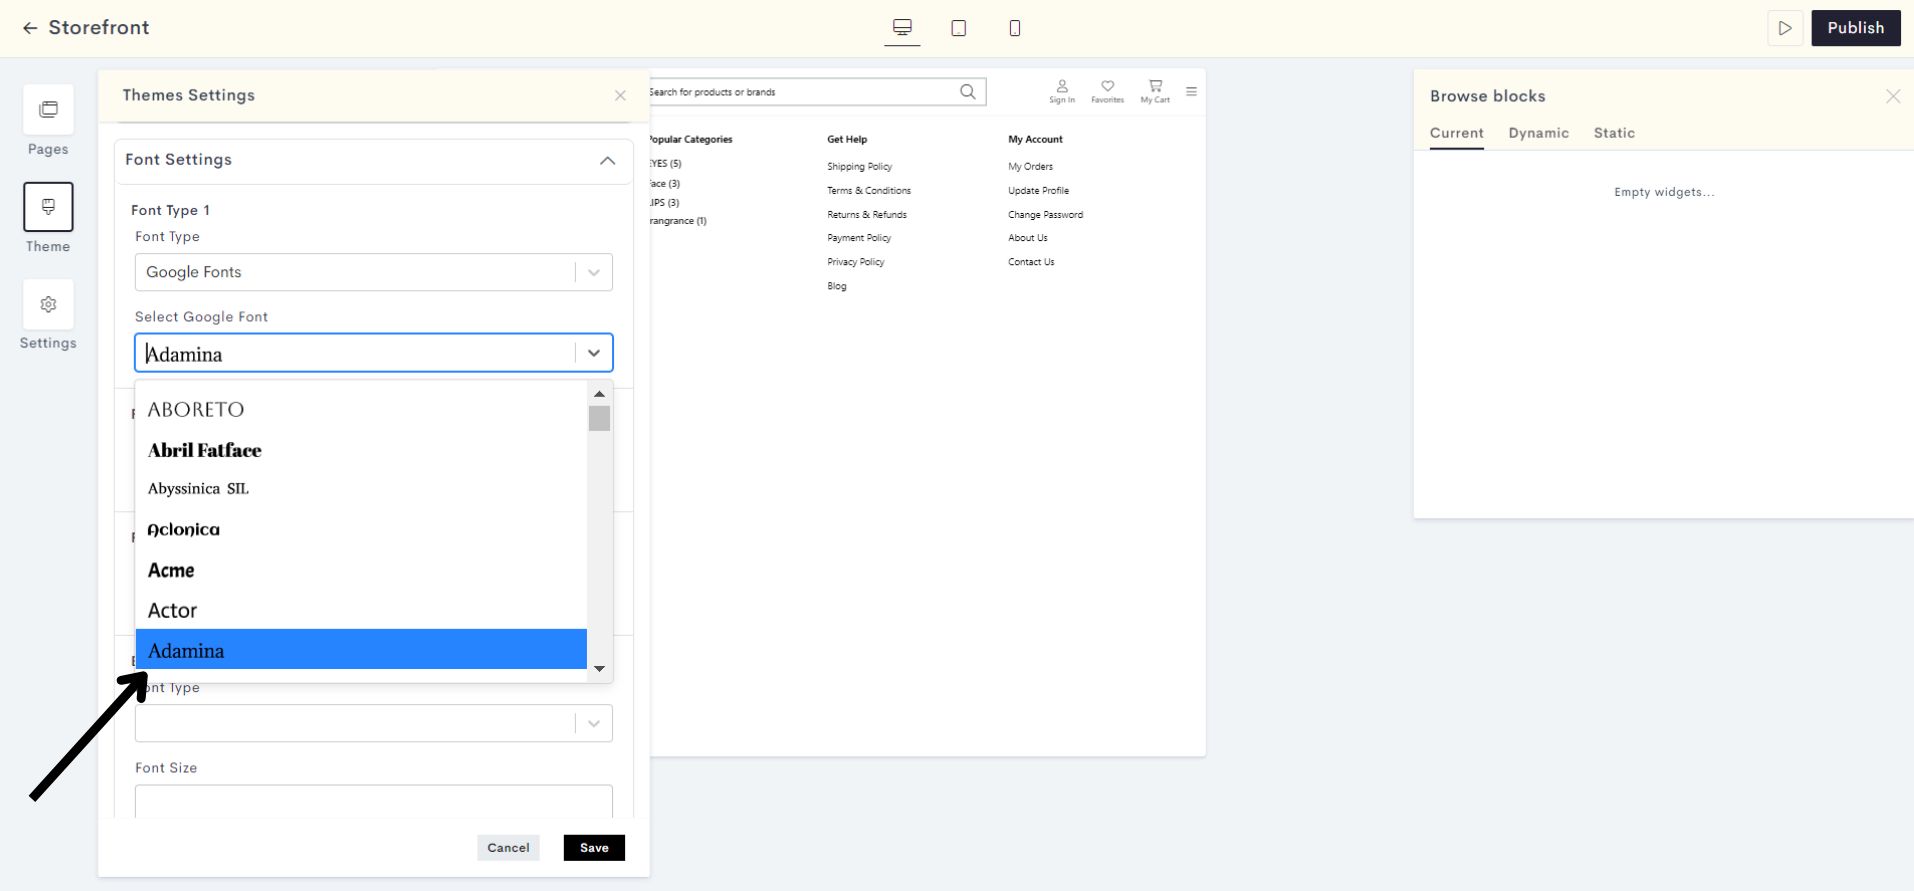
STEP 6:
For the font type 1, we selected Google Fonts. Now lets select the font style for the same.
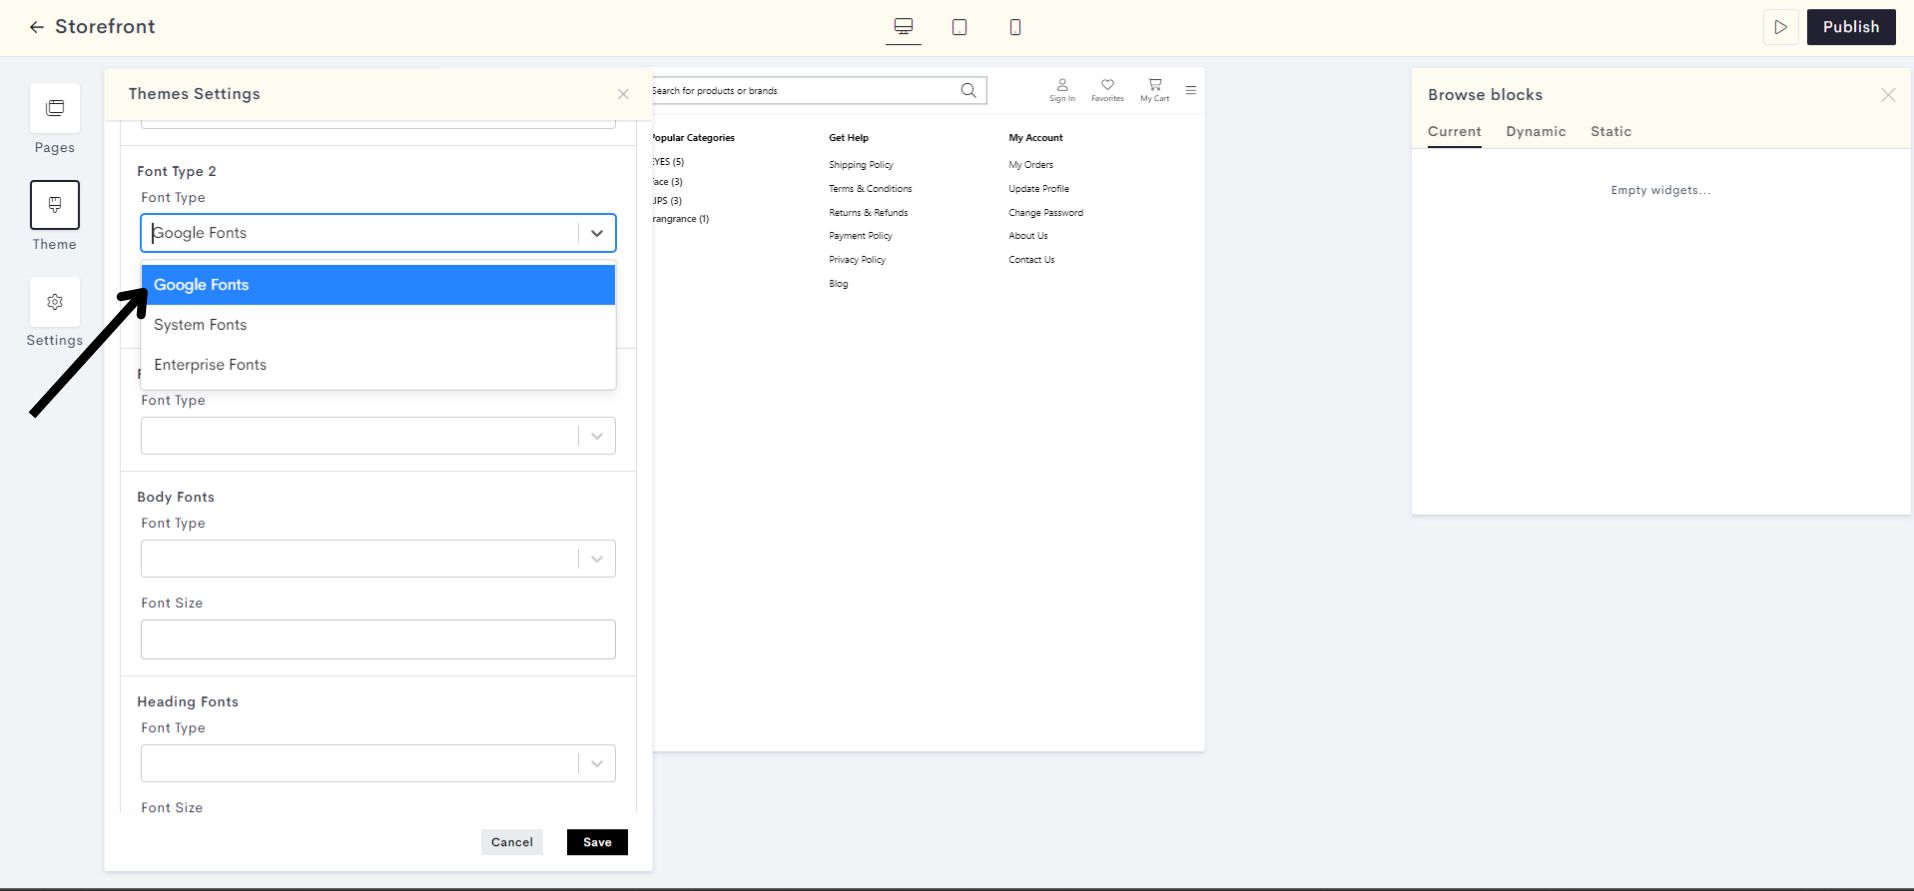
STEP 7:
Similarily choose the font type for Font Type 2.
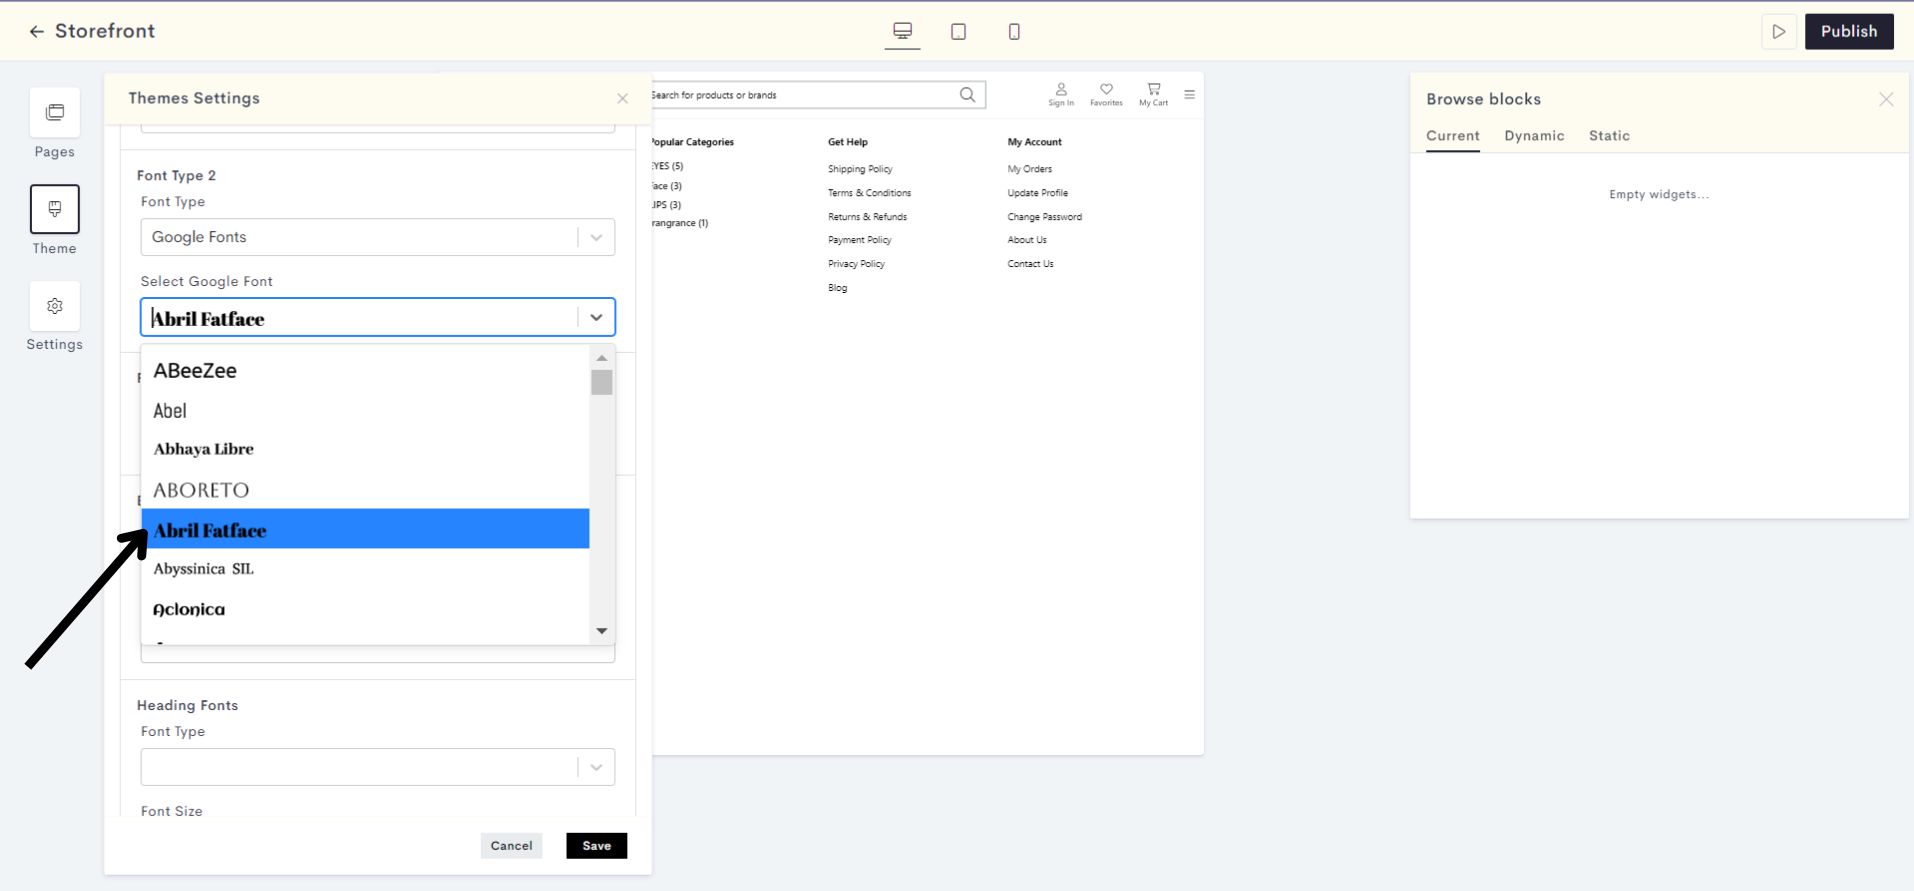
STEP 8:
For the font type 2, Google Font has been selected. Now let's select the font style for the same.
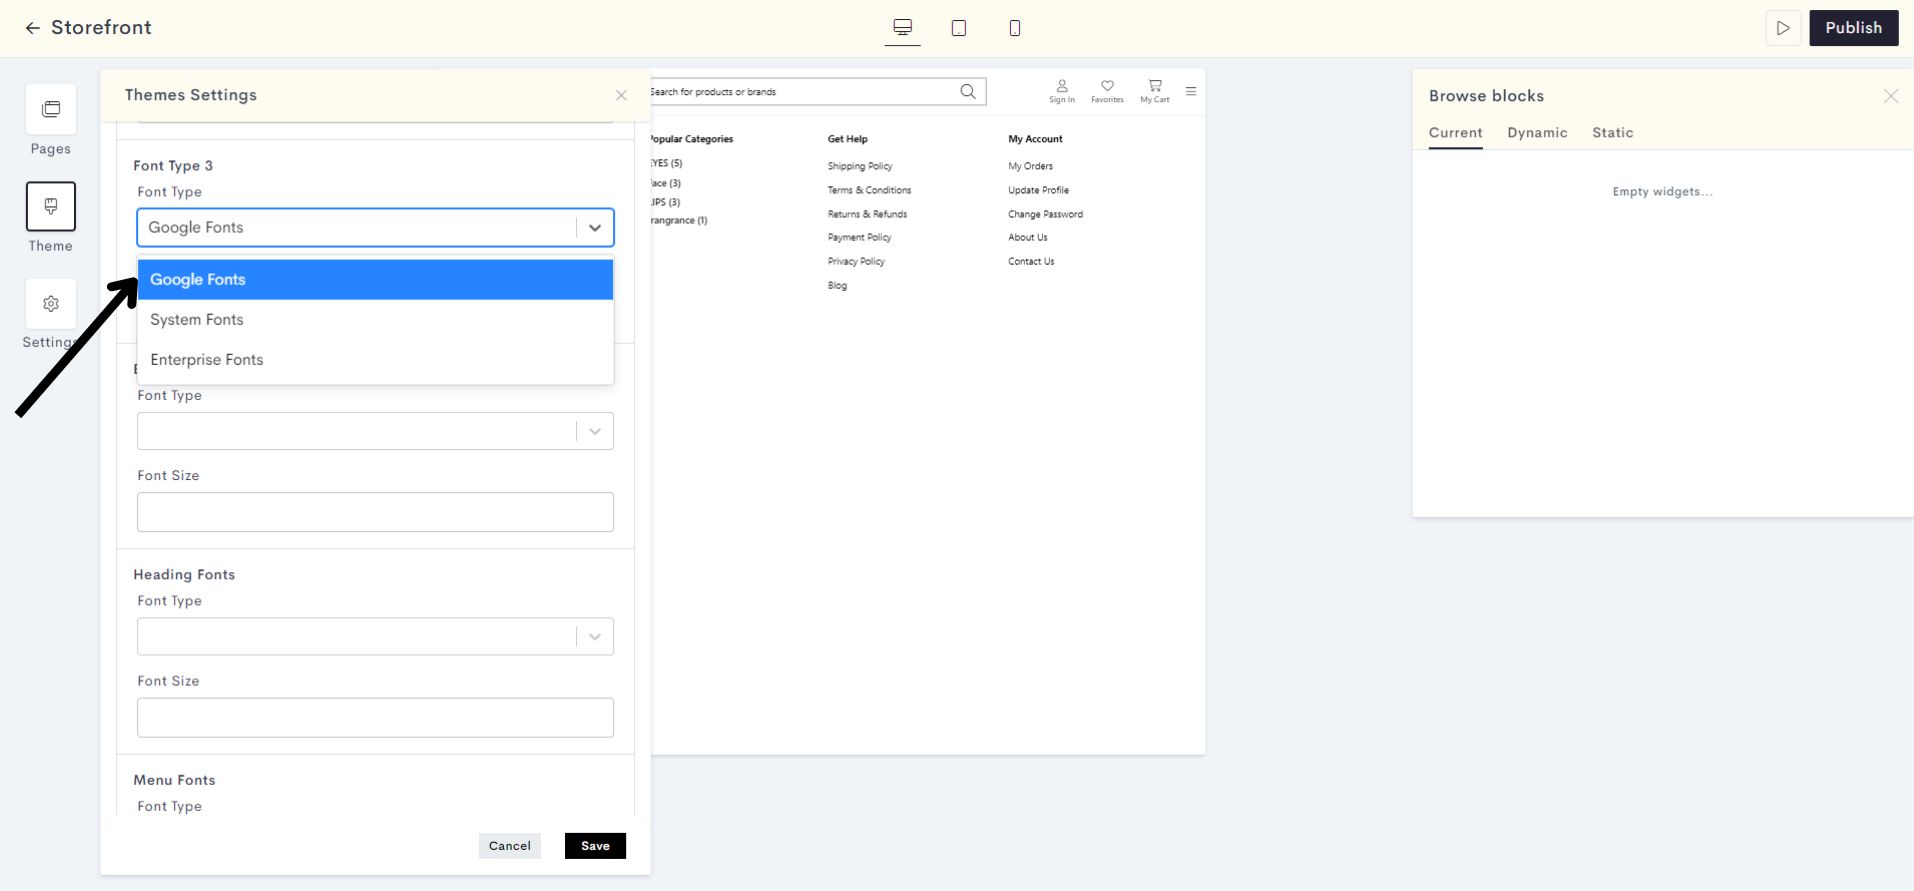
STEP 9:
Choose the font type for Font Type 3.
STEP 10:
For the font type 3, Google Font has been selected. Now let's select the font style for the same.

You have successfully selected the font type and font style for each type of font.
Note: Now, let's assign the font type to the Body font, Heading font, Menu font, and Product Title font.
STEP 11:
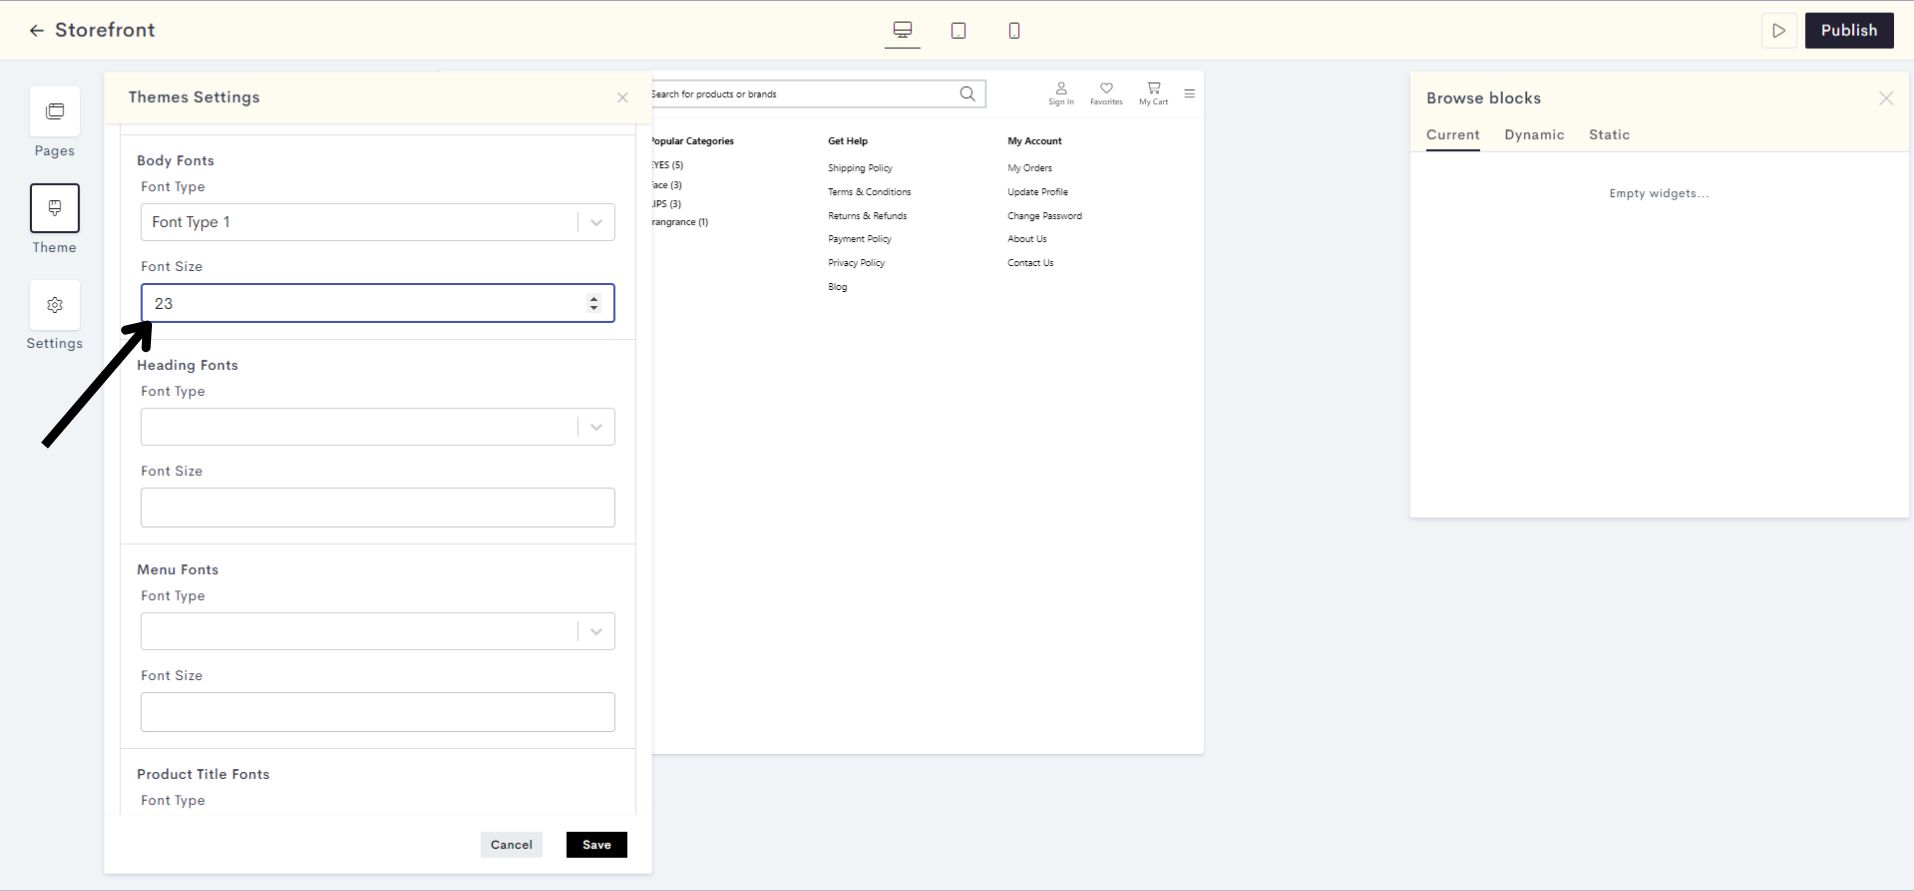
Now assign the font type to the Body fonts.
Note: The body font style will be applied consistently to product descriptions, all menus, including elements that function as menus, such as search bar content, icon names, product names on the MPP and home page, category names, side panel menus, and buttons etc on your website.
Font Type 1 has been assigned to Body fonts .
STEP 12:
Now, select the font size for the Body fonts that you prefer on the website.
Please refer to fig:Body font to understand the applied changes.
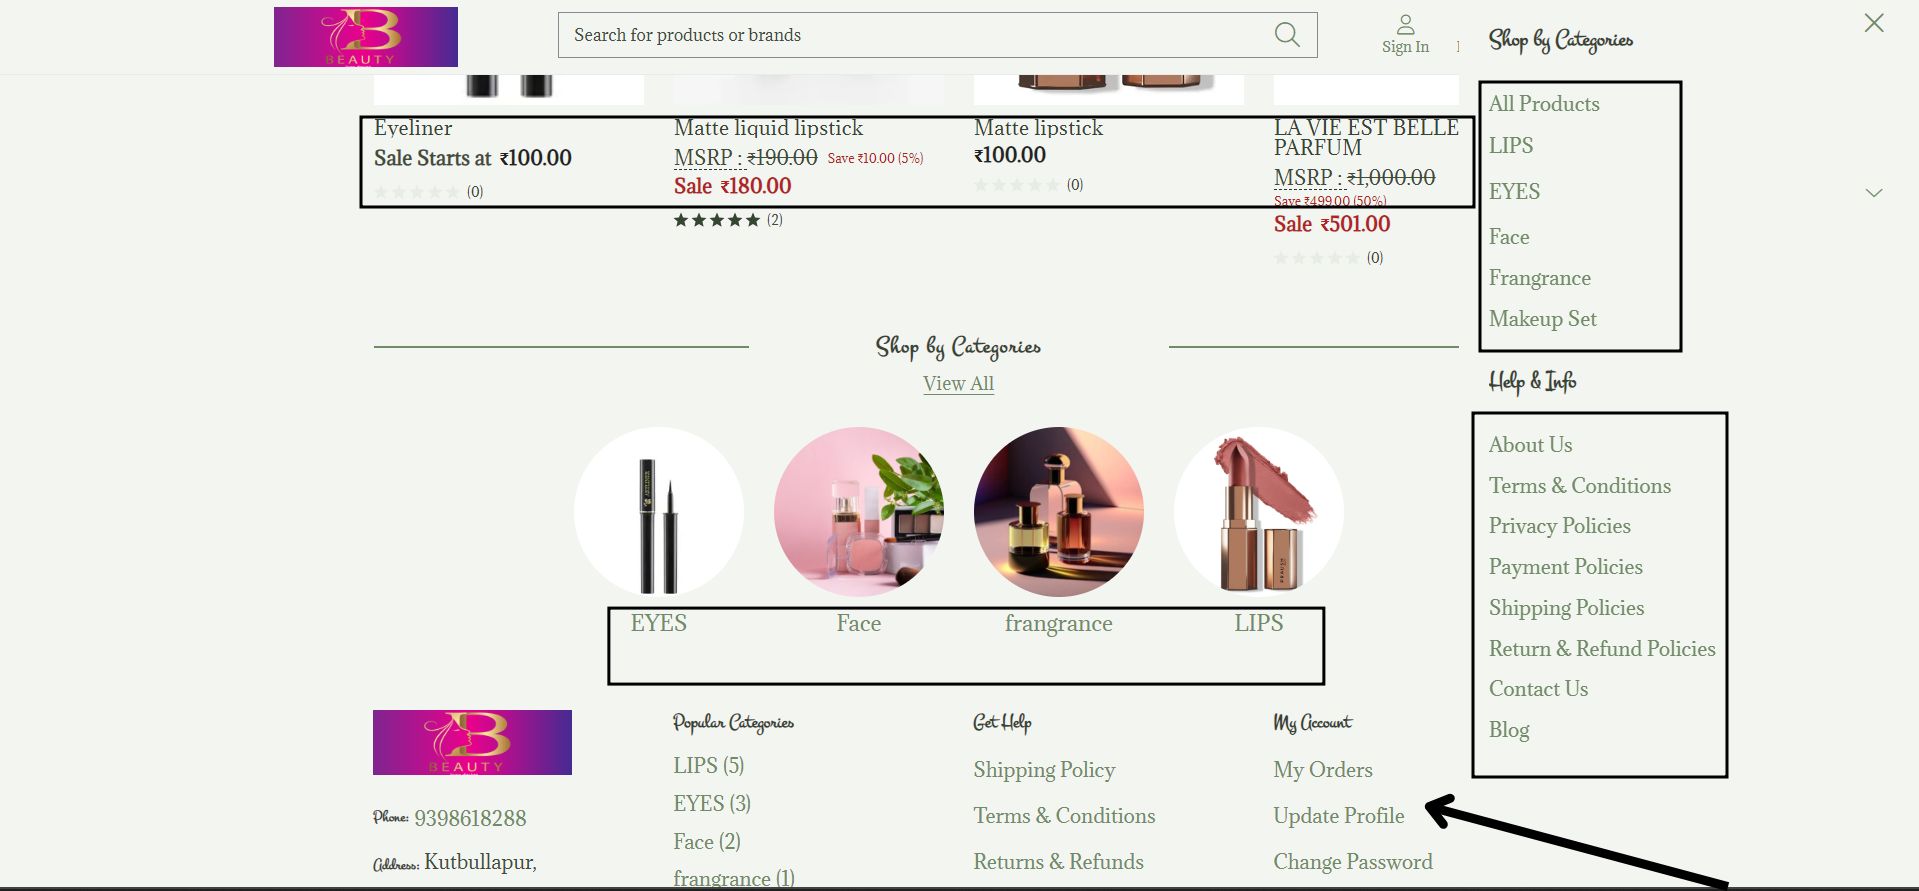
fig:Body font
STEP 13:
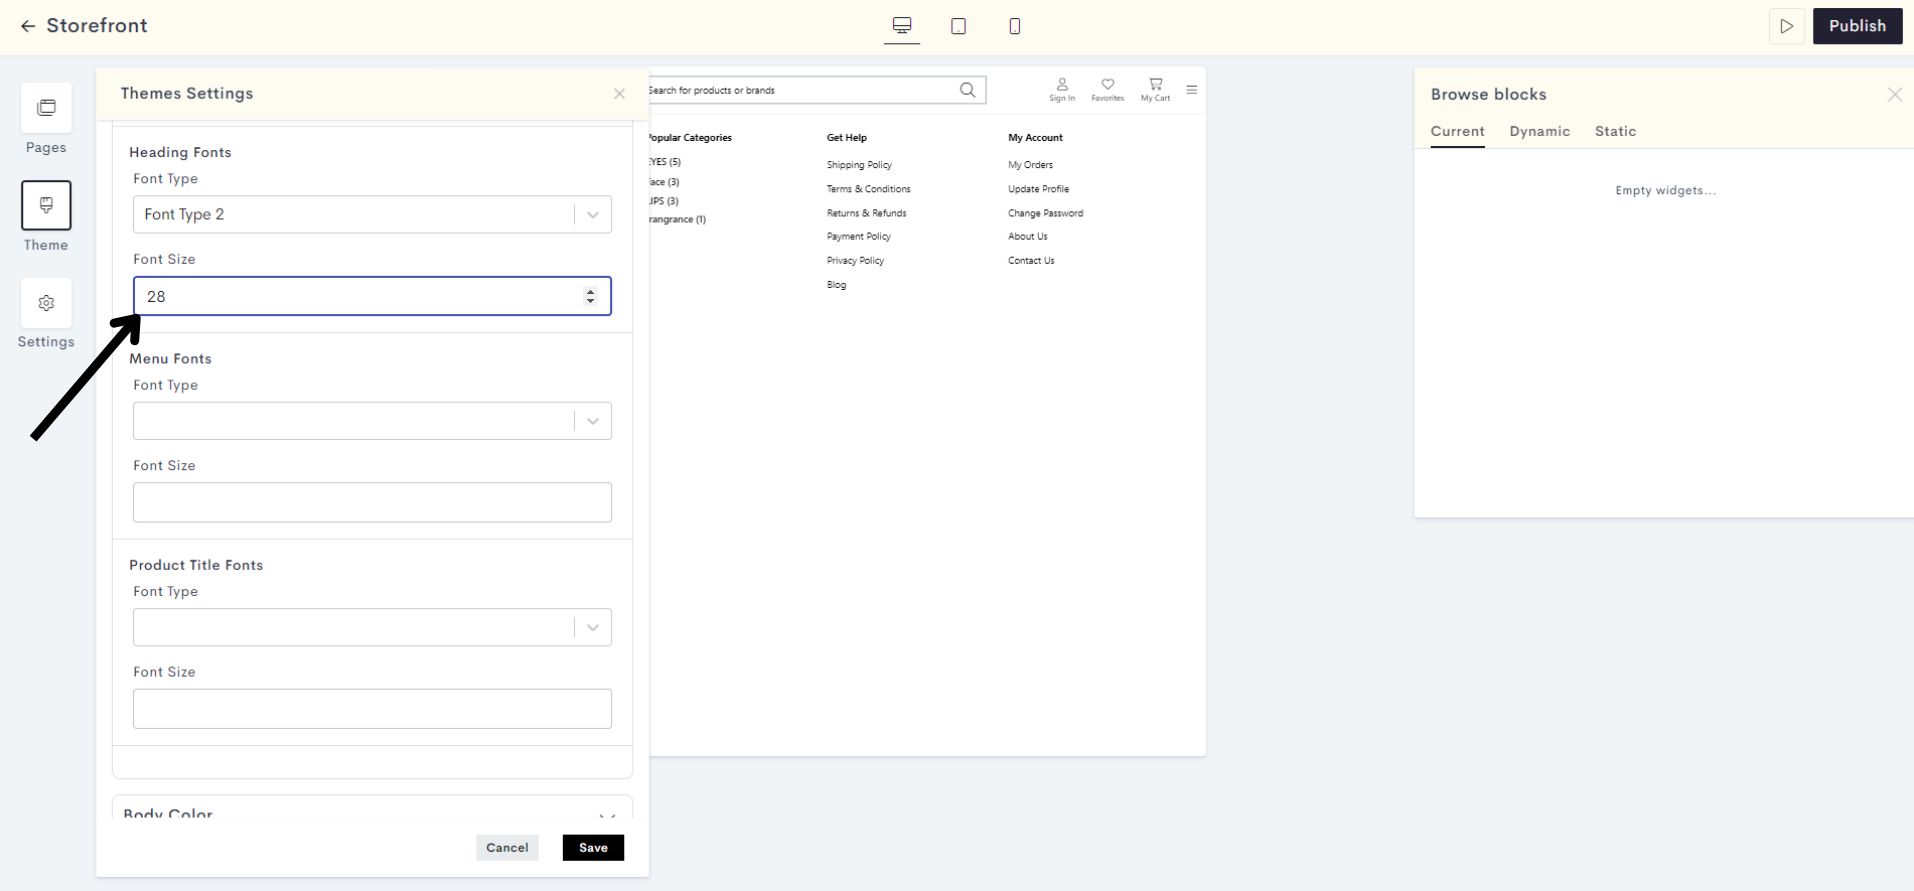
Assign your preferred font type to the Heading Fonts.
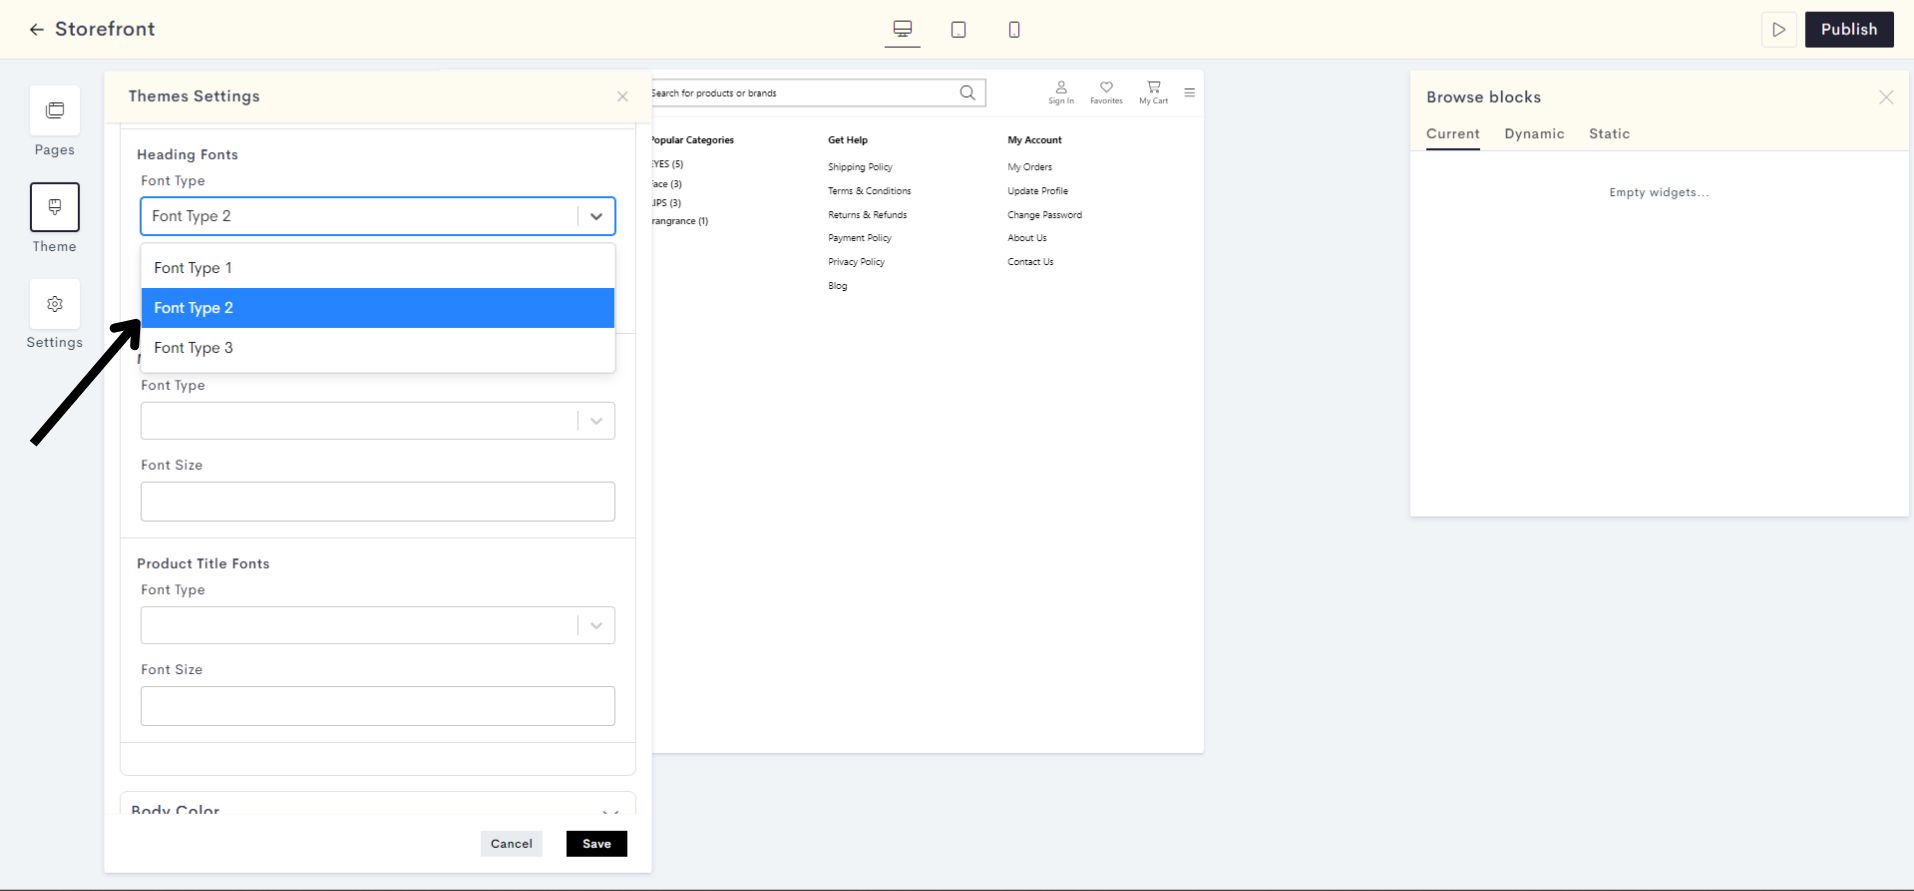
Font Type 2 has been assigned to Heading fonts.
STEP 14:
Select the font size for the Heading Fonts that you prefer on the website.
Note: The heading font style will be consistent across all headings on your website, encompassing elements that serve as headings, such as widget titles, side panel headings, footer headings, and more.
Please refer to fig:Heading font to understand the applied changes.
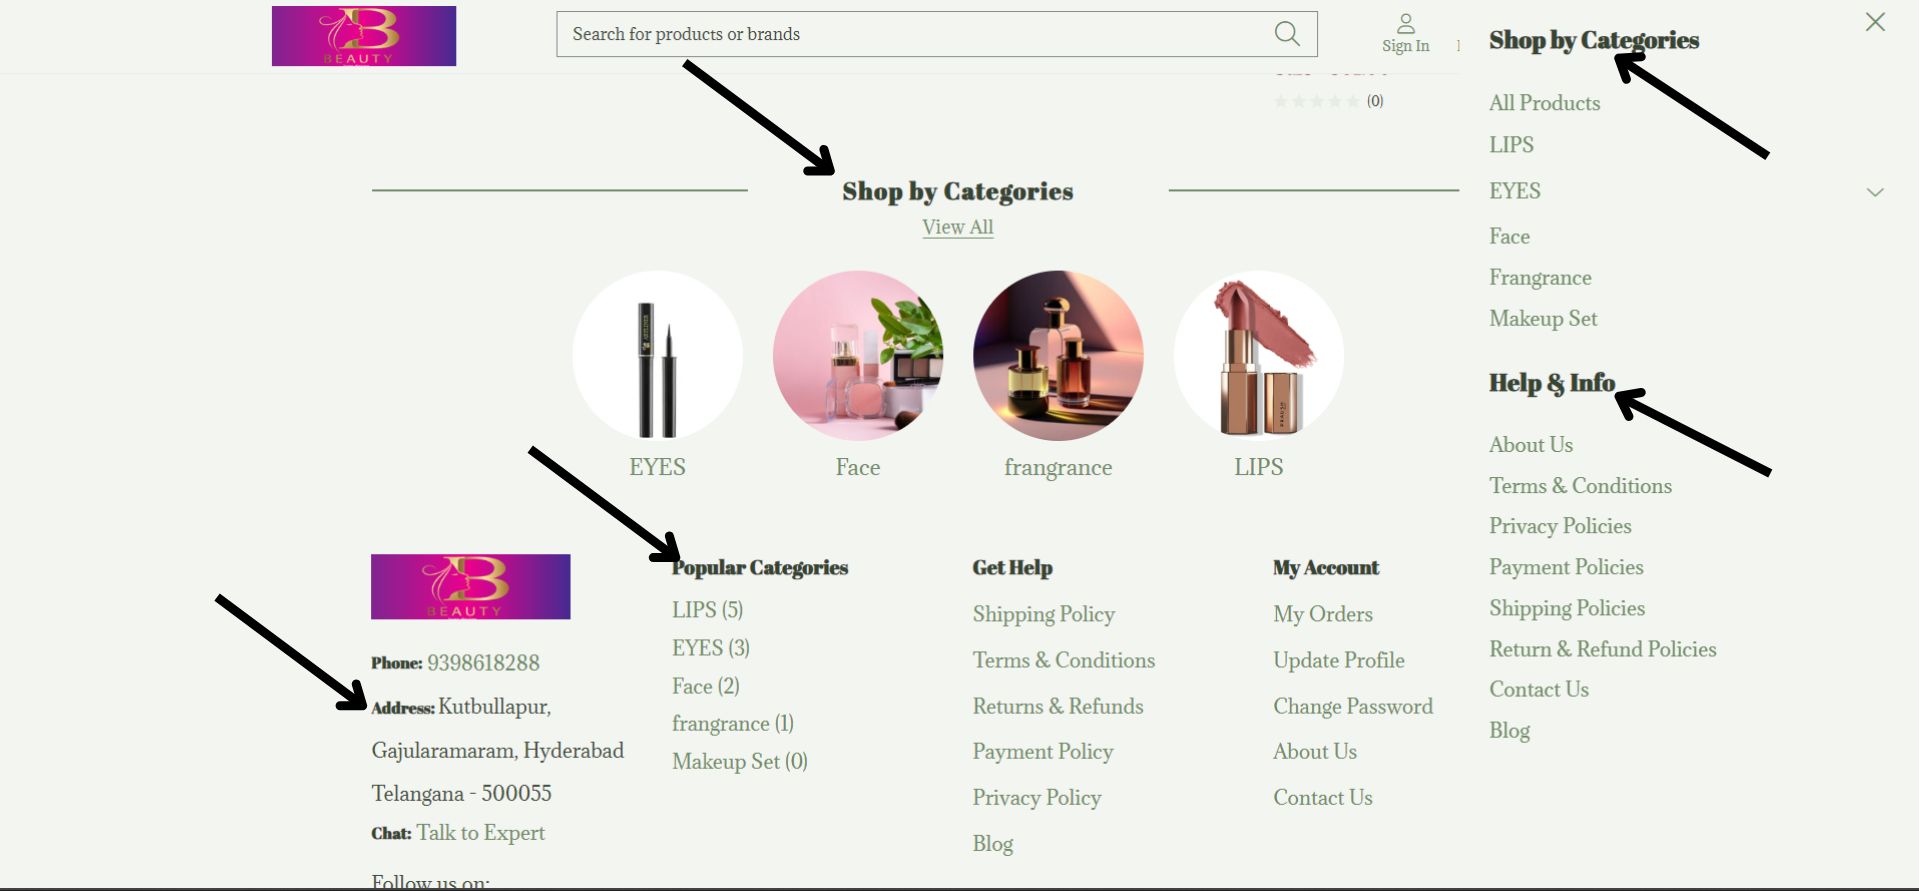
fig:Heading font
STEP 15:
Similarly assign your preferred font type and size to Menu Fonts.
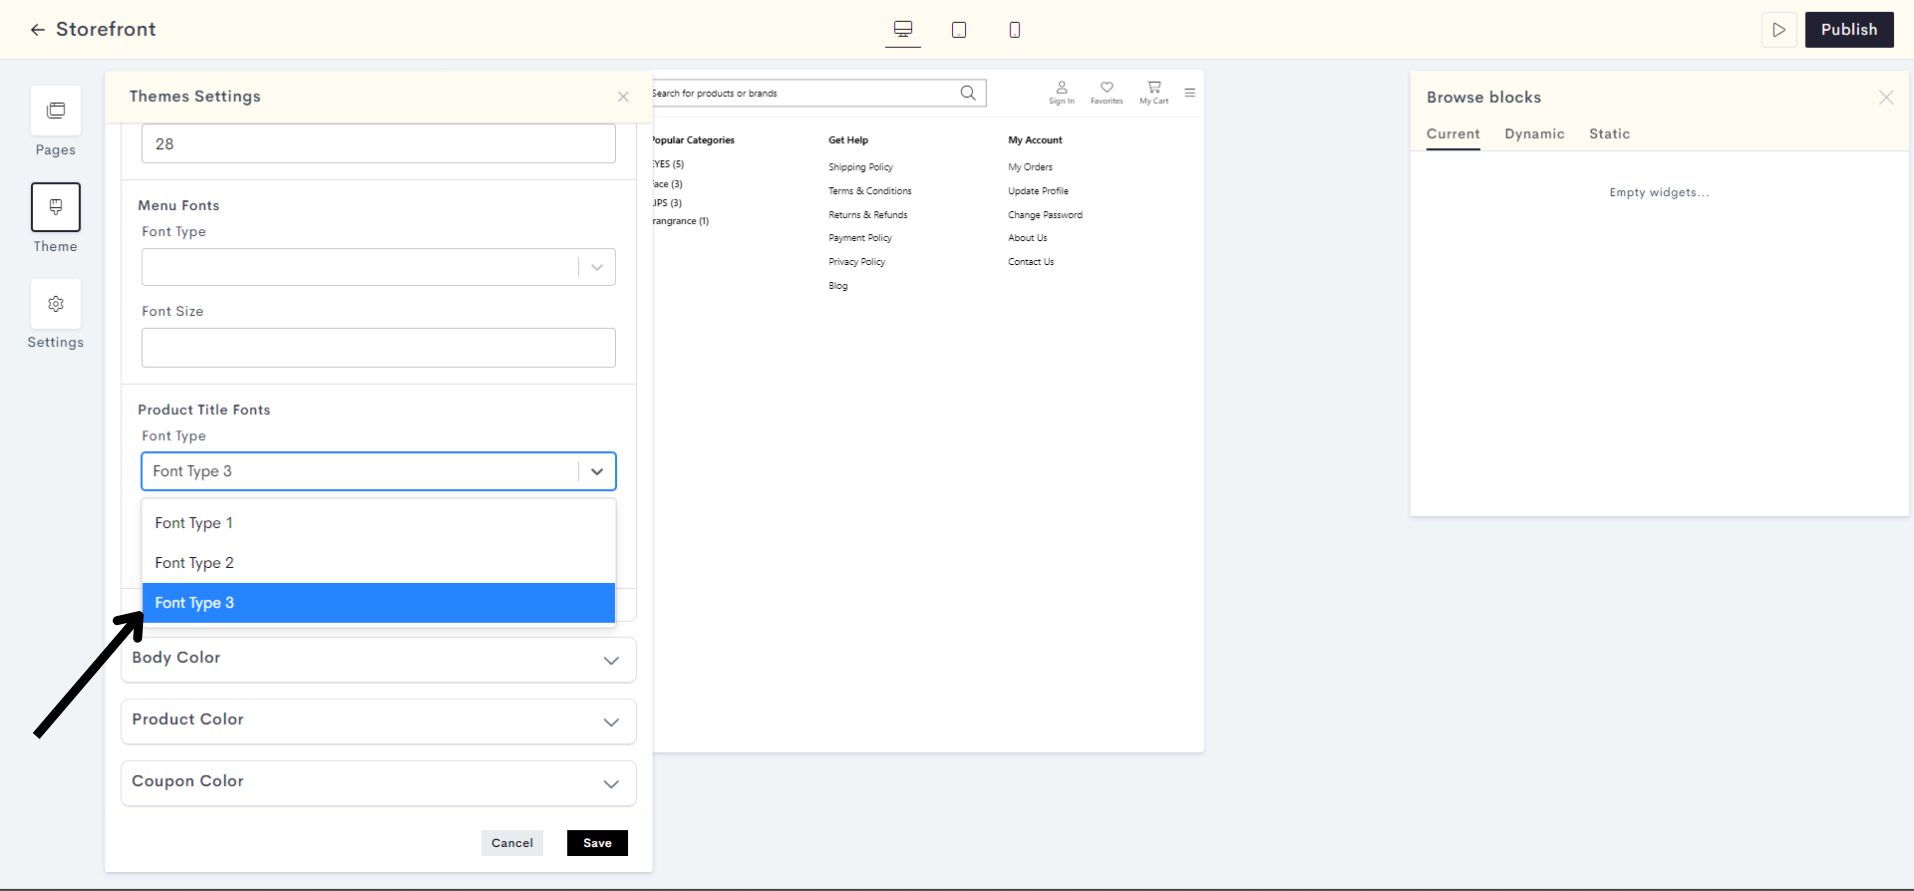
STEP 16:
Now assign the font type to the Product Title Fonts which you wish.
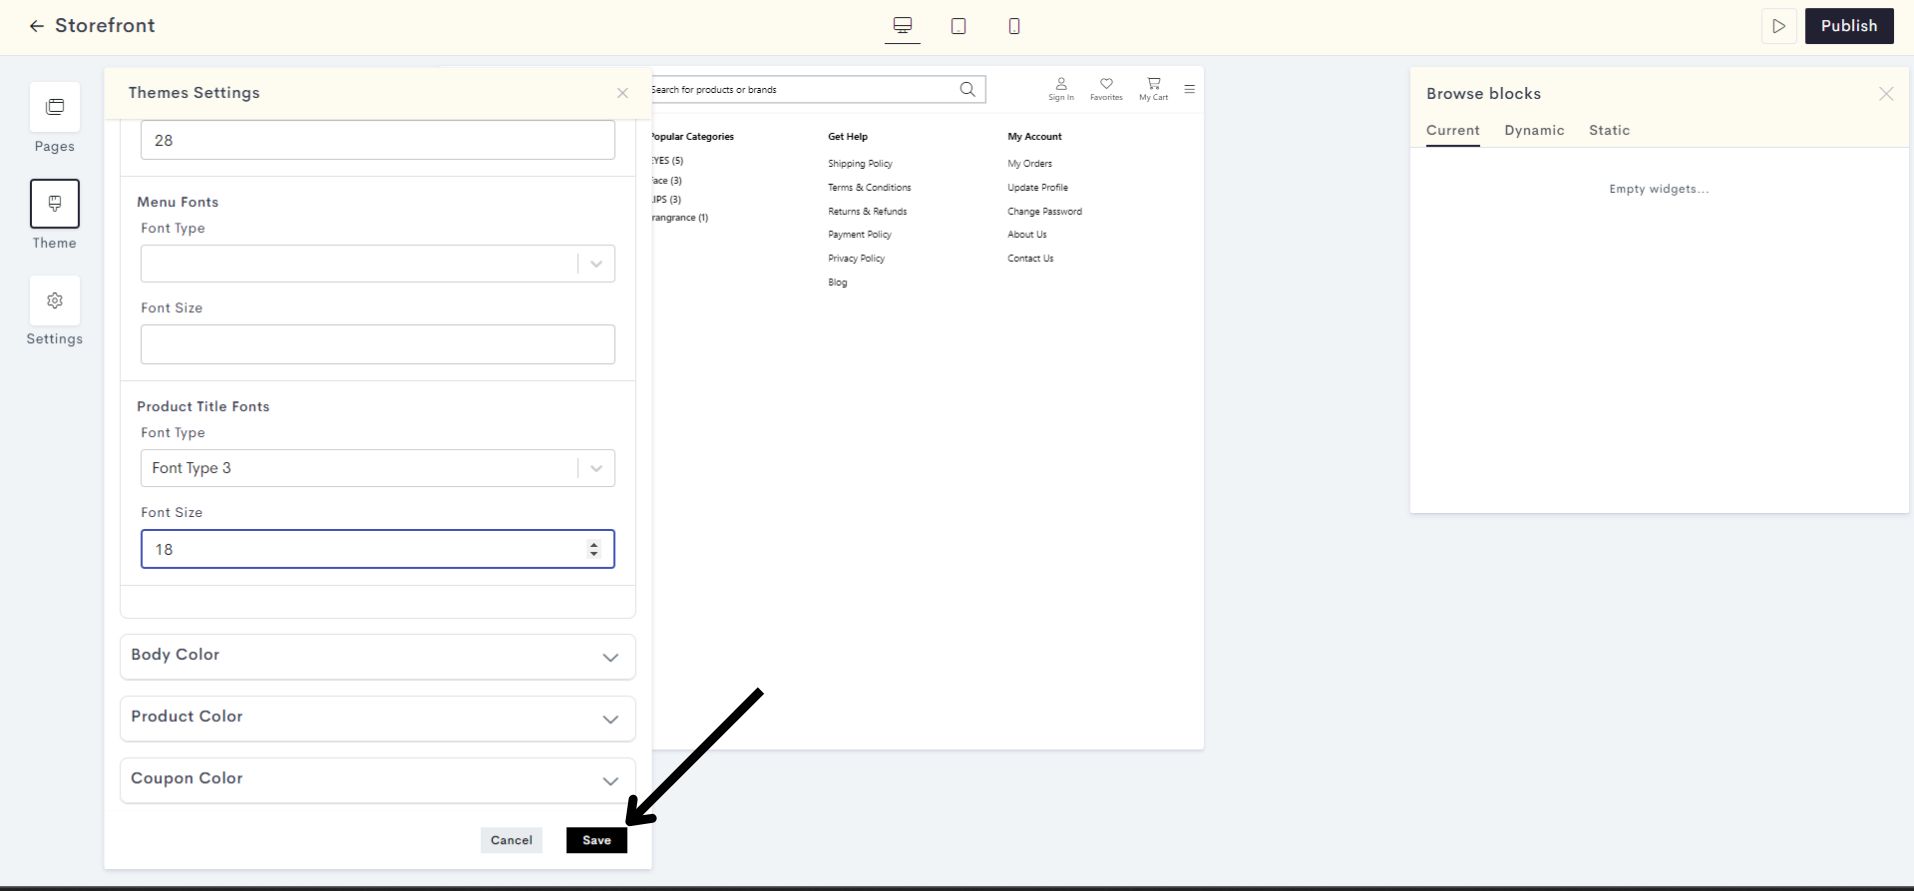
Select the font size for the Product Title Fonts that you prefer on the website.

STEP 17:
Click On Save.
Your Font settings have been Saved successfully.
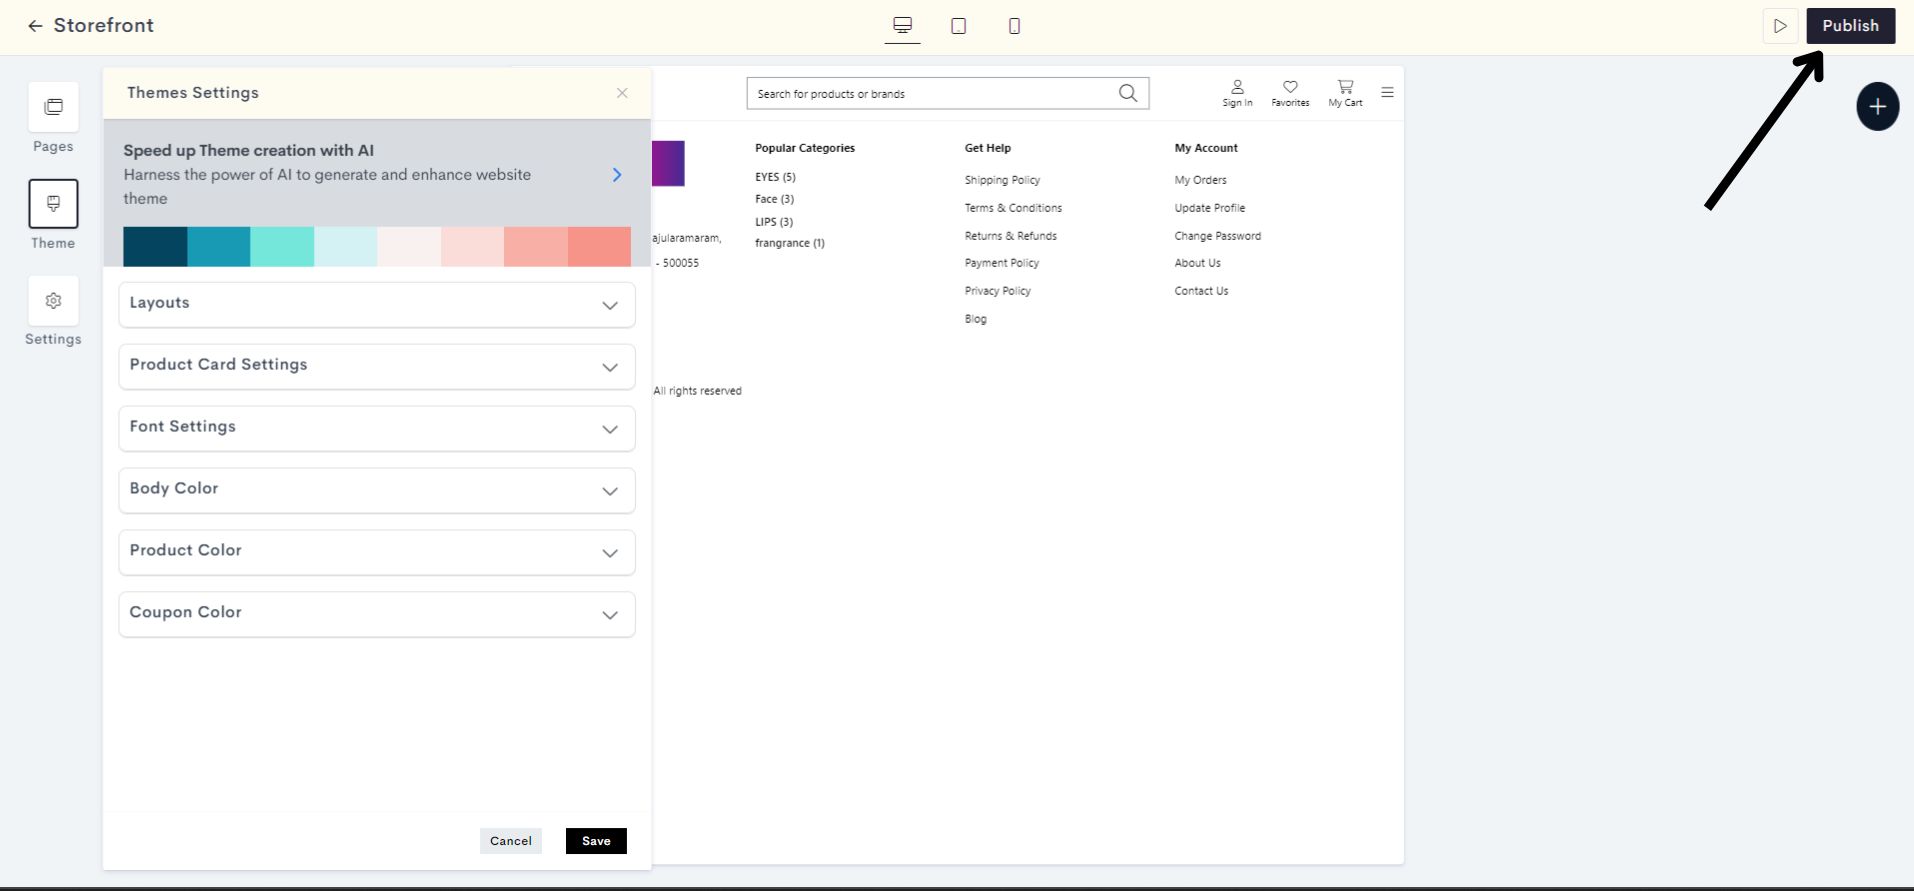
STEP 18:
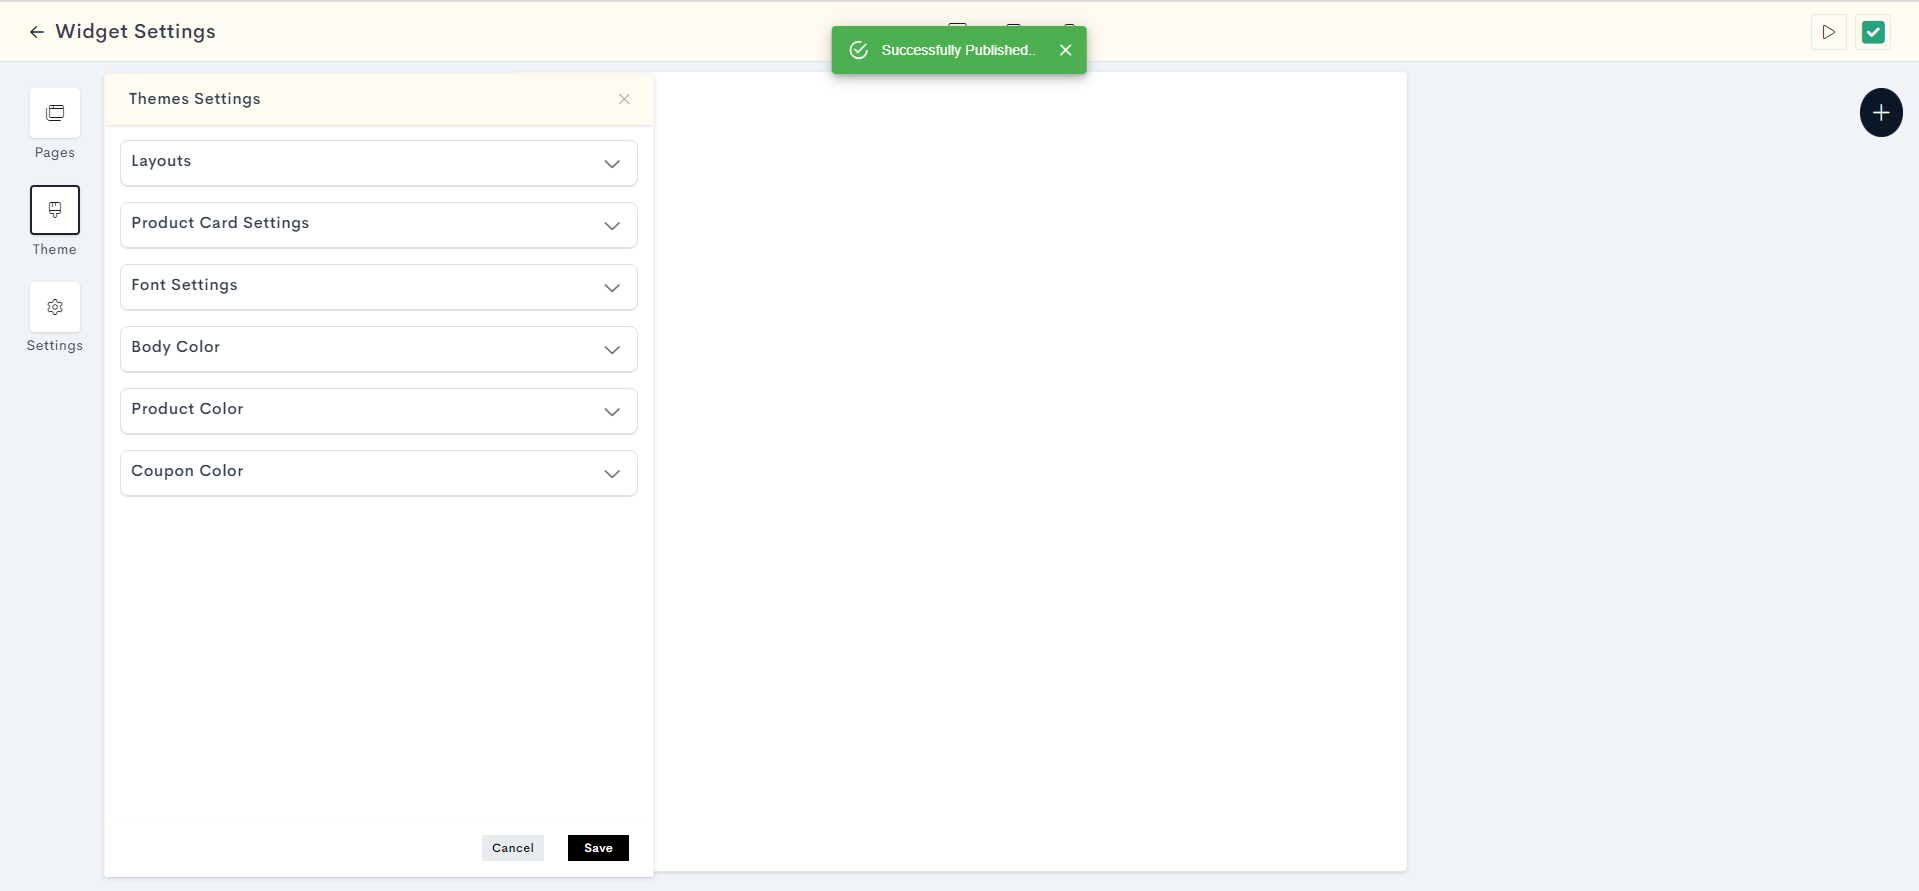
Click on Publish to make your changes live on your website.
Your Font Setting changes have been successfully published.
Last modified 1mo ago